We can easily install maven to our local window machine, for this follow the below steps.
1) There is pre-condition before the installation, we need to install Java and setup the environment variable for the java. In the previous post we have discussed the installation of Java and setup the environment variable. Please click to link for the java setup-> Click for Java Setup
Maven installation and Setup Environmental Variable:
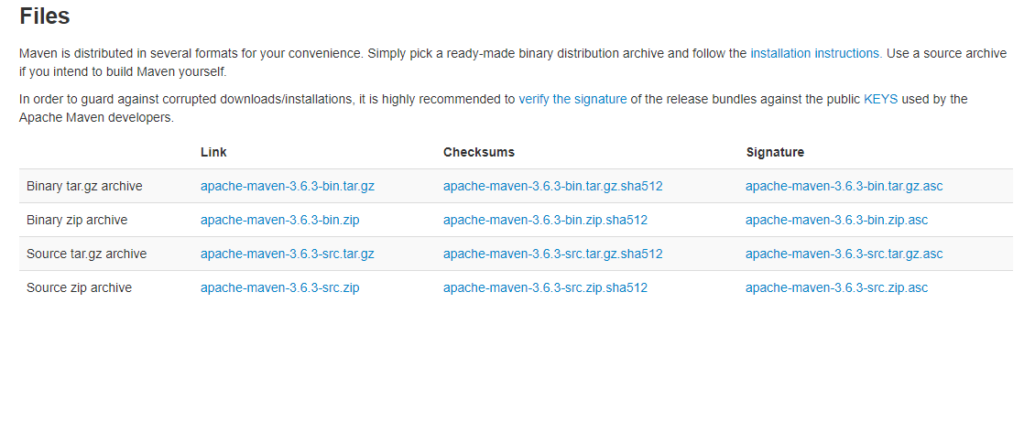
2) Now download Maven from the location : Maven Download
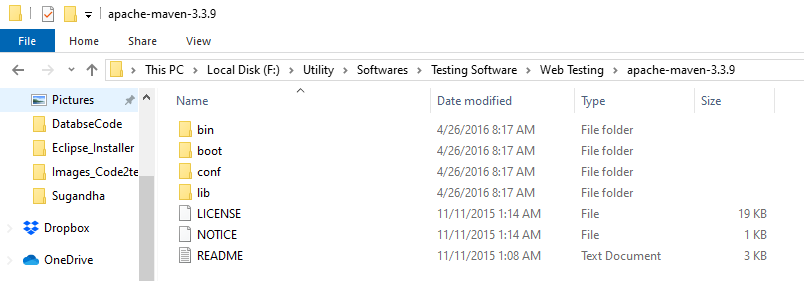
3) Extract the file in any of your preferred folder, I have created a folder and kept the file in this location – “F:\Utility\Softwares\Testing Software\Web Testing\apache-maven-3.3.9”.
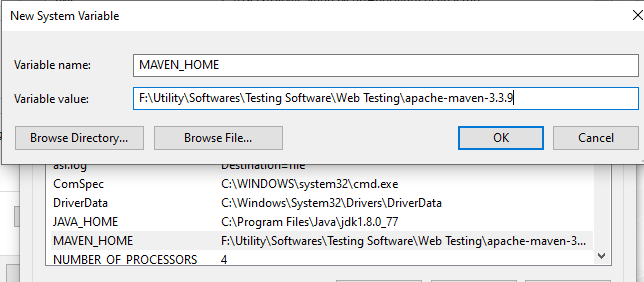
4) Now Setup the Maven Environment variable from system environment variable window.
Under System Variable section, click to New mention variable name as “MAVEN_HOME” and variable value the path of maven folder location, for me its “F:\Utility\Softwares\Testing Software\Web Testing\apache-maven-3.3.9”. and click to OK button
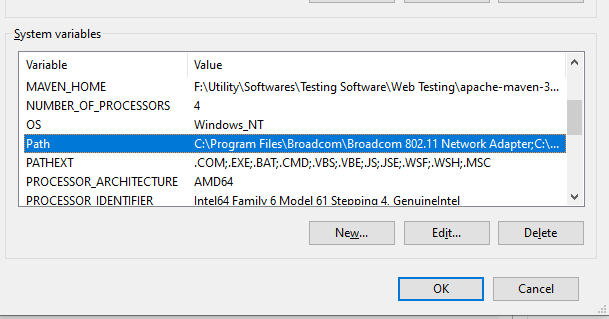
5) The MAVEN_HOME will be displayed under system variable section as below.

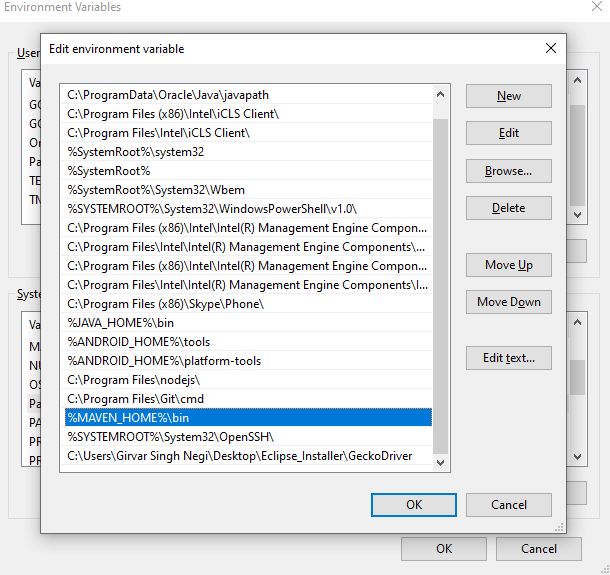
6) Now set the Location of MAVEN_HOME to Path location. For this click to Path under system variable and click to edit button.
7) Append or add the MAVEN_HOME path till bin folder followed by “;” as this format “%MAVEN_HOME%\bin” and click to OK button , we are using window 10 so it will look like this .
Now its time to check the Maven Installation:
8) To check the maven installation open the command prompt for this, click to Run and type Cmd. Under cmd prompt type command: mvn -version
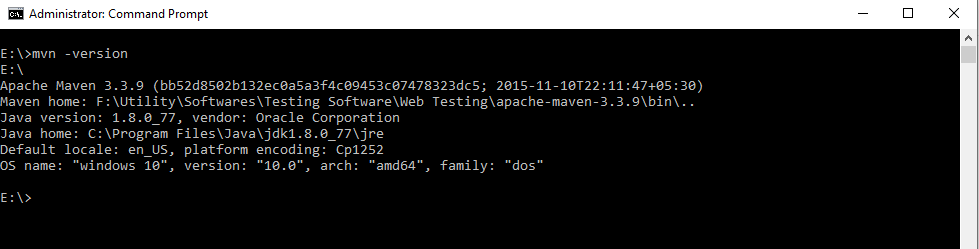
So, we can see the maven version on CMD after hitting the command with no error message , says that we have successfully installed maven to our local system.