In previous tutorial, we have learned How to perform Serialization with Rest Assured. In this tutorial we are going to learn Deserialization with Rest Assured, this concept of deserialization is reverse of serialization. Lets focus on the concept of deserialization.
How to perform Deserialization with Rest Assured?
Deserialization is a process or mechanism of transforming bit stream in to object state. In context of Rest assured deserialization is a process of converting response body or payload in to in to object state.
In this tutorial, we will understanding the concept with java language to get things more simpler. To achieve deserialization we create POJO class where all the attribute are defined globally and below the variable the getter and setter methods are created.
Understanding concept of Deserialization with example
As we trigger the request payload using rest assured library, we get response and the value of the response gets initialized to the class attribute or global initialized variable with the help of POJO class object.
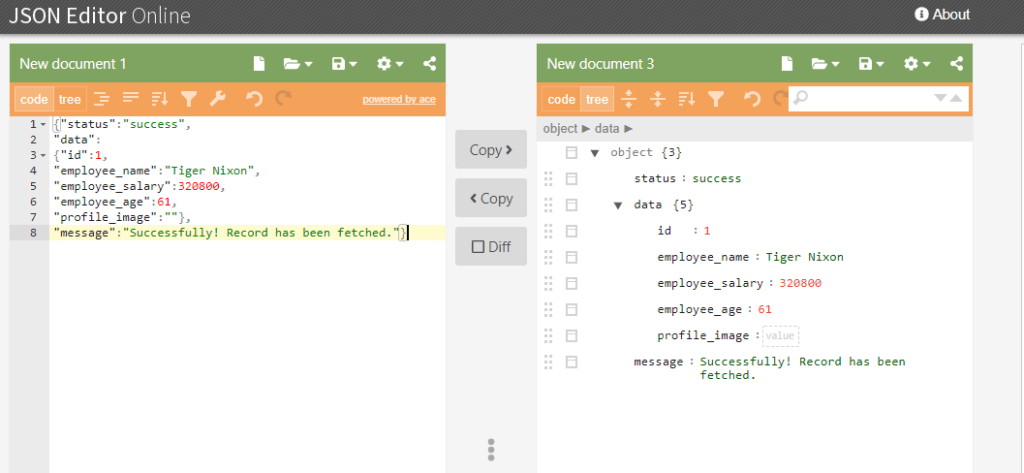
Let consider a response payload for which POJO class is to be created.
{"status":"success",
"data":
{"id":1,
"employee_name":"Tiger Nixon",
"employee_salary":320800,
"employee_age":61,
"profile_image":""},
"message":"Successfully! Record has been fetched."}
Let open the payload in jsoneditor.
Now create a POJO class(EmployeeDetails.java) and define all the attribute or key of the response json displayed above in a form of global valriable and also create their getter and setter methods as below.
package com.restAssured.employee;

public class EmployeeDetails {

	private String status=null;
	private Data data=null;
	private String message=null;

	public String getMessage() {
		return message;
	}
	public void setMessage(String message) {
		this.message = message;
	}
	public String getStatus() {
		return status;
	}
	public void setStatus(String status) {
		this.status = status;
	}
	public Data getData() {
		return data;
	}
	public void setData(Data data) {
		this.data = data;
	}


}
As we see in response json that their is again a json (nested json) inside Data attribute or key. So in this case create another POJO class(Data.java) as displayed below.
package com.restAssured.employee;

public class Data {

	private int id;
	private String employee_name=null;
	private int employee_salary;
	private int employee_age;
	private String profile_image=null;

	public int getId() {
		return id;
	}
	public void setId(int id) {
		this.id = id;
	}
	public String getEmployee_name() {
		return employee_name;
	}
	public void setEmployee_name(String employee_name) {
		this.employee_name = employee_name;
	}
	public int getEmployee_salary() {
		return employee_salary;
	}
	public void setEmployee_salary(int employee_salary) {
		this.employee_salary = employee_salary;
	}
	public int getEmployee_age() {
		return employee_age;
	}
	public void setEmployee_age(int employee_age) {
		this.employee_age = employee_age;
	}
	public String getProfile_image() {
		return profile_image;
	}
	public void setProfile_image(String profile_image) {
		this.profile_image = profile_image;
	}

}
We are now done with creation of POJO classes. Create a class (RestAssuredRider.java) and run the class where we call the rest assured methods and pass the rest API and get the reponse inside the defined POJO variables.
package com.restAssured.employee;

import static io.restassured.RestAssured.given;

import io.restassured.RestAssured;
import io.restassured.parsing.Parser;

public class RestAssuredRider {

	public static void main(String[] args) {

RestAssured.useRelaxedHTTPSValidation();


EmployeeDetails empDetail =given().expect().defaultParser(Parser.JSON)
.when()
		.get("http://dummy.restapiexample.com/api/v1/employee/1").as(EmployeeDetails.class);

System.out.println("Status value is---->"+empDetail.getStatus());
System.out.println("Message is---->"+empDetail.getMessage());

	}

}
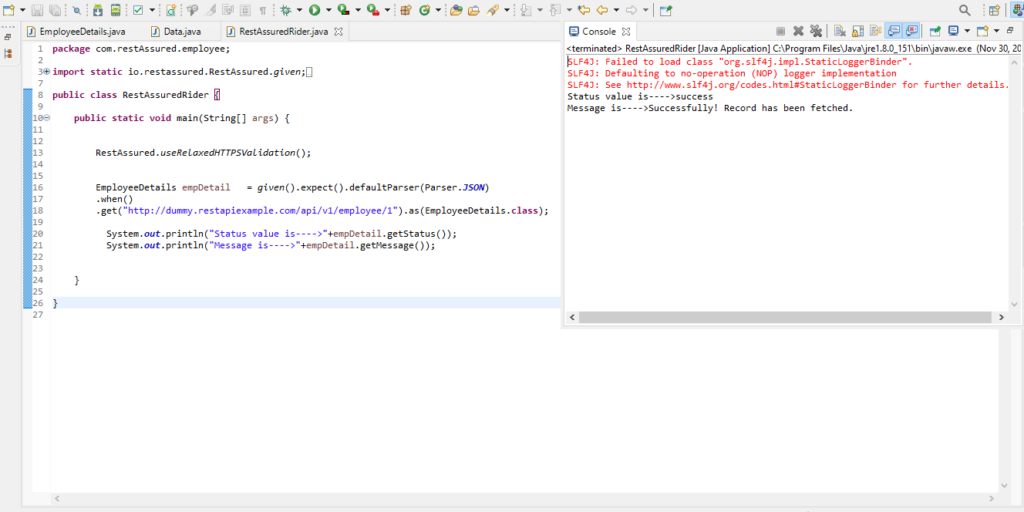
Code in eclipse with be displayed as below.
Conclusion
So in the above eclipse console, we see that we have received the response that is printed by calling the object of POJO class, and we the help of reference variable we call all the attribute key along with its value and work with it as per requirement.