In this tutorial , we will learn How to Download and Installation Apache JMeter, after the installation we will move on the advance topics of Apache Jmeter.
How to Download and Installation Apache JMeter?
Before the start of jmeter installation, we need to fulfill the precondition, which is installation and setup of java. As we are going to install the latest version of jmeter which is 5 and it supports only java 8 and 9, so request all the learners not to install the previous version of java.
Below are the steps to install the Apache Jmeter step by step.
1) Go to the official website Apache Jmeter ,and scroll till binaries section under Apache Jmeter.
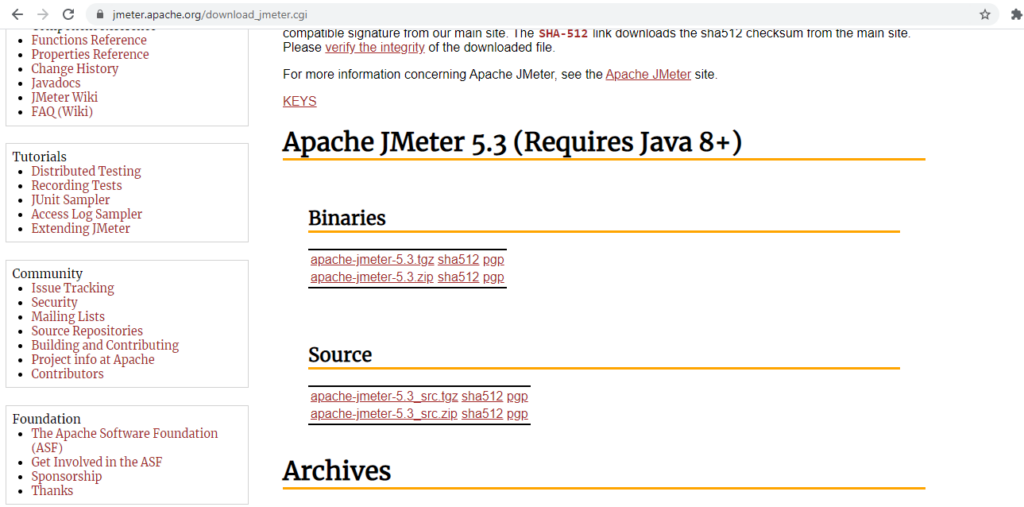
2) Under Binaries section, there are two files with .tgz (for linux machine) and .zip(for window machine). As working in window machine we click to .zip file.
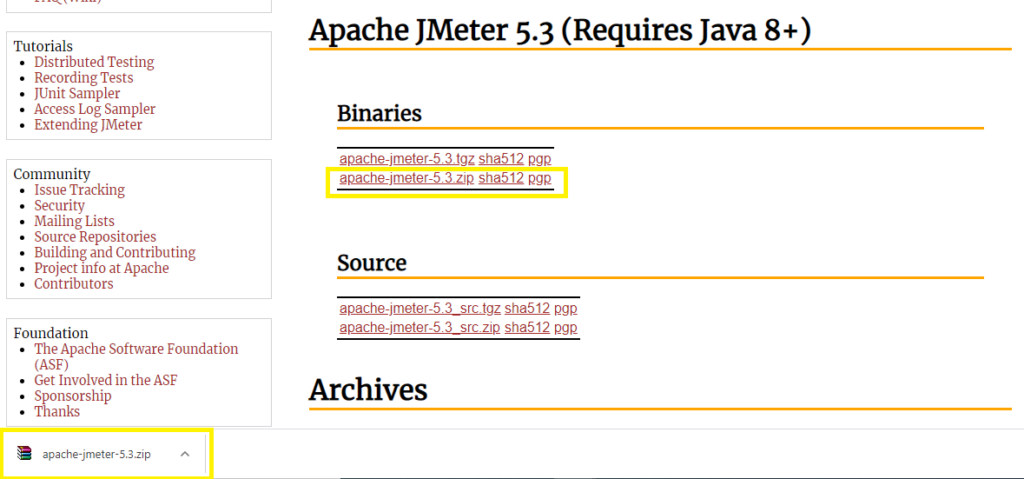
3) Next step is to extract the apache jmeter jar file in to your preferred location, i have save it to c: drive.

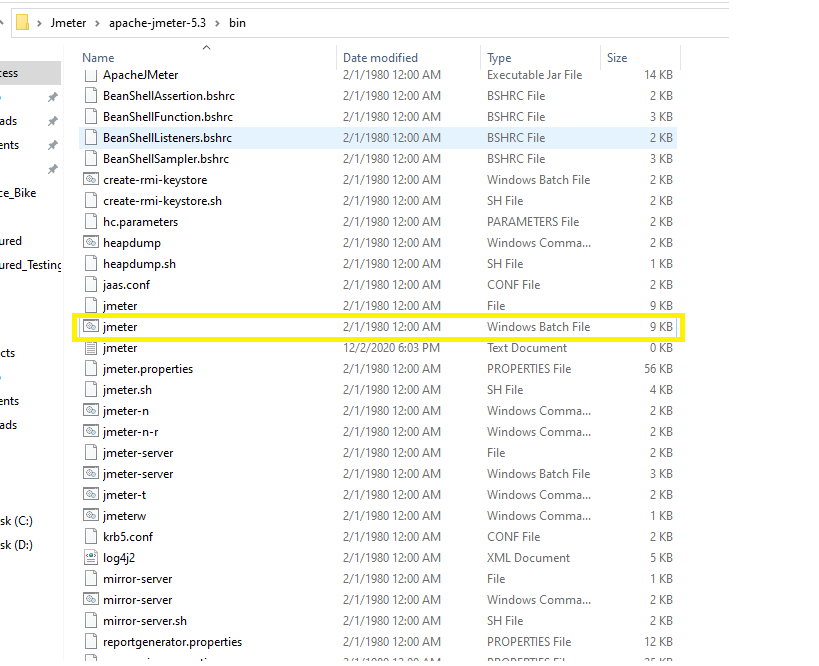
4) Open the bin folder of the extracted zip file and first search and then double click to Batch file with named as jmeter as displyed in below image.
5) As we double click to jmeter batch file, a cmd console will get opened having some log details as below.
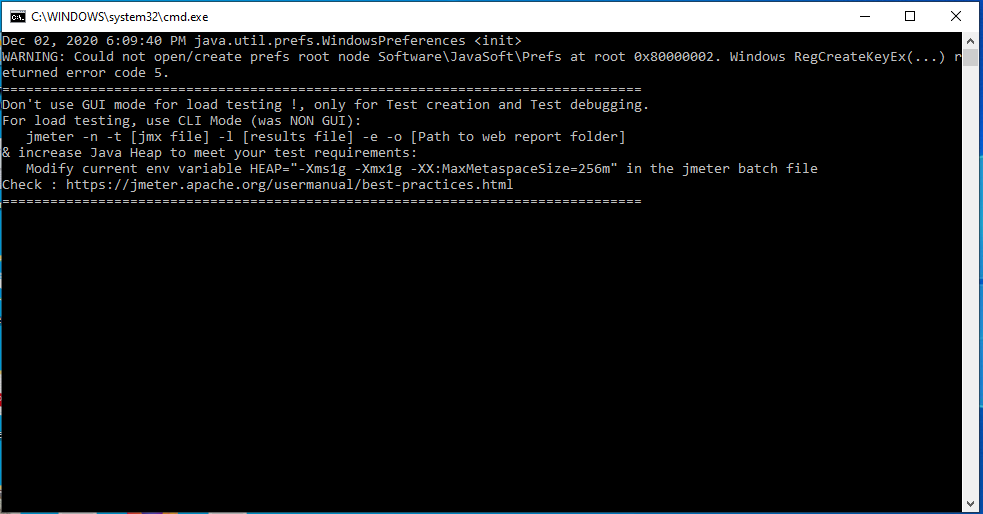
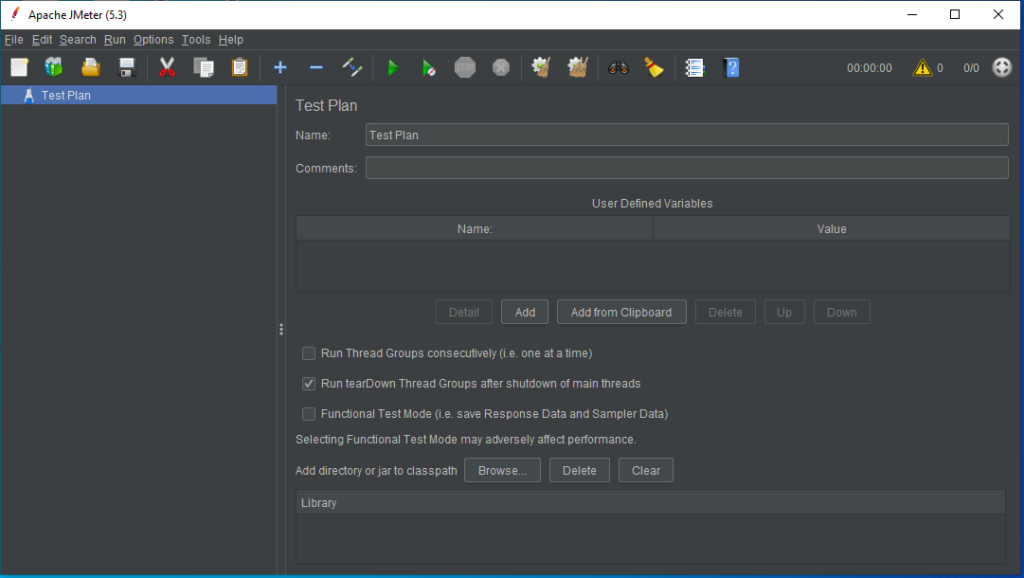
6) Finally after the execution of console logs, jmeter application will get opened, with all the menus and option getting displayed.
Conclusion
So in this tutorial we have learned the sequentially step by step installation of Apache jmeter, in next will learn the advance topics on creating the test plan and the test cases to achieve the performance of any type of application with live application session.
Also we will trying to understand the basic and advance concepts of jmeter step by step from the scratch. So be with us and learn.