After the installation of Java and environment setup. Next step is how to download eclipse in your local system.
Steps to Download Eclipse are as Below:
- Hit the Url->http://www.eclipse.org/downloads and click to download package link.
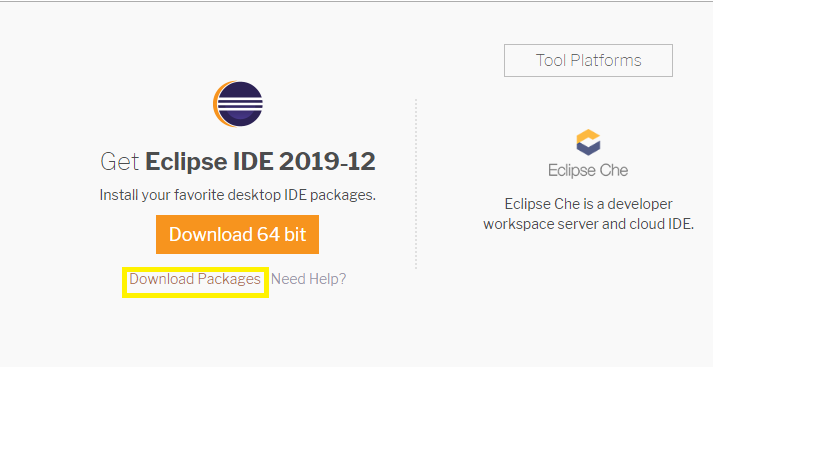
- It will redirect to “Download Package” window. Take the page webpage down and click to ” Eclipse IDE for Java Developers”.
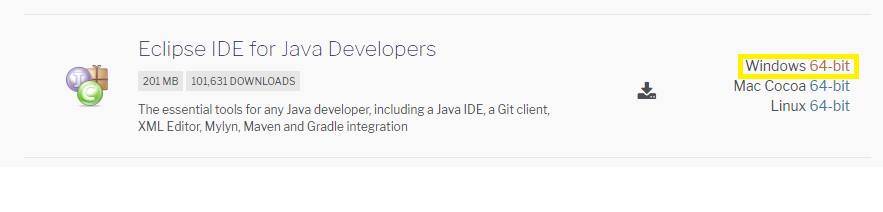
- Click on Window 64-bit (Please select the IDE as per your system configuration)
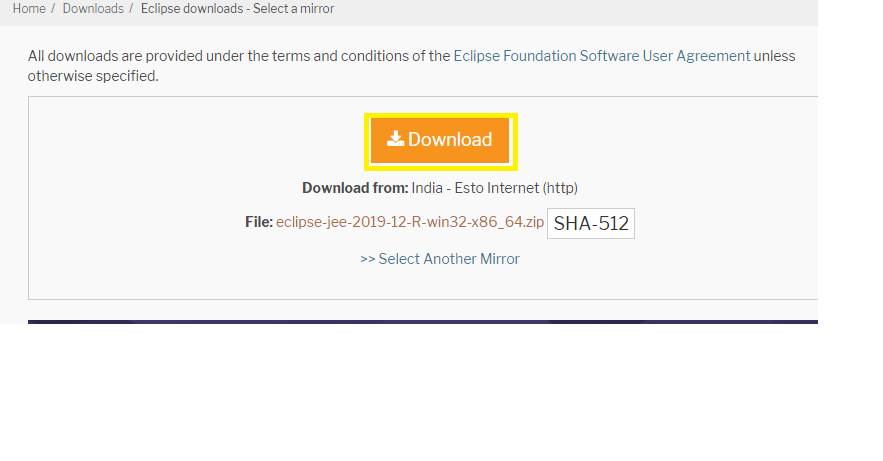
- Now click to Download the zip file to any of your preferred location on you local system and unzip the file.
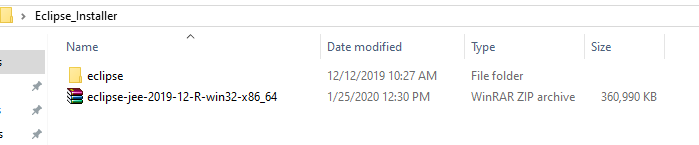
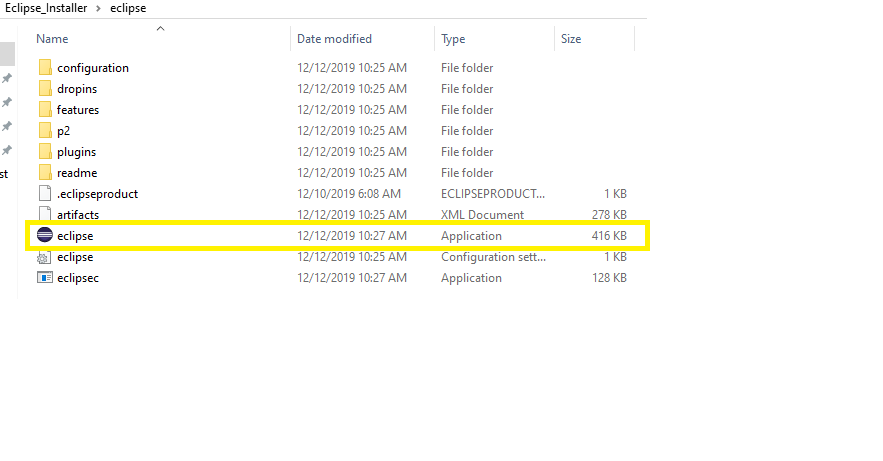
Now open the eclipse .exe file under eclipse folder
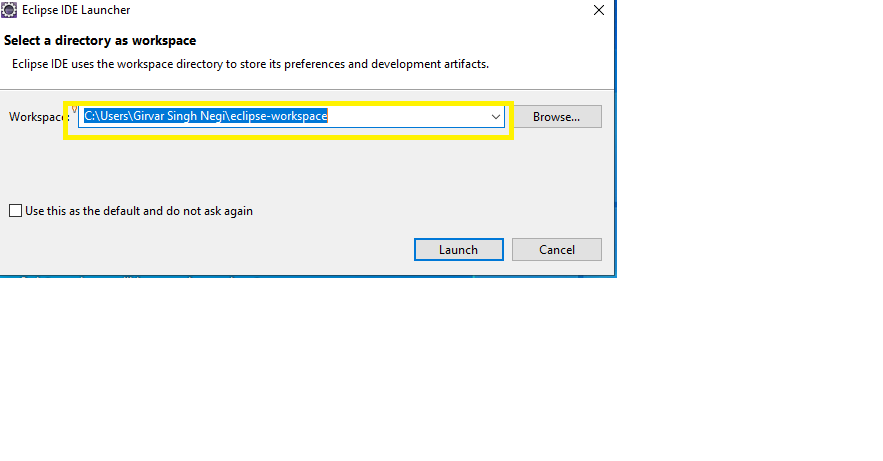
Now create a workspace at any of your preferred location and provide the path to eclipse
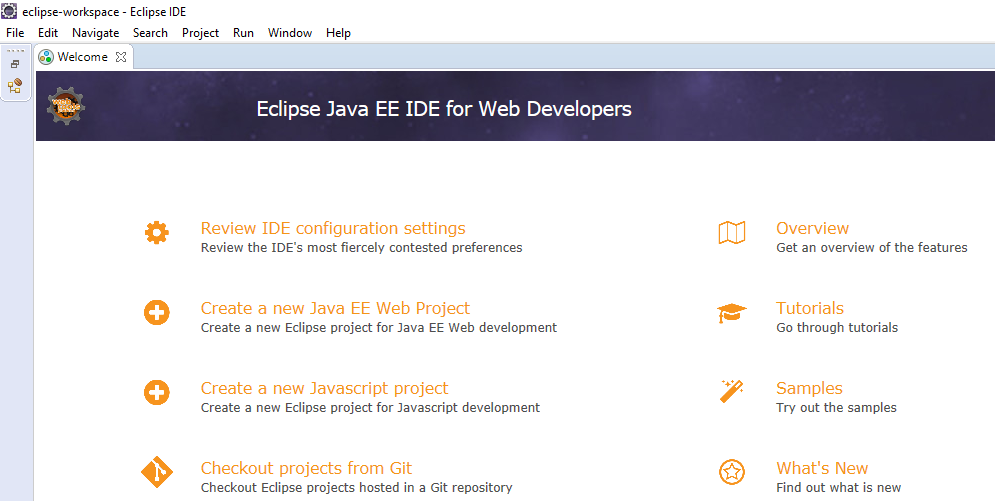
Finally the Eclipse is setup to your system with defined workspace and will display the welcome page for the first time.
So Learners be we me, we will next learn how to setup selenium webdriver in our local system and run our first selenium test case.