Home » Articles posted by code2test.com (Page 7)
Author Archives: code2test.com
Download And Install Appium Desktop Application
How to Download And Install Appium Desktop Application
Download And Install Appium Desktop Application .
Why to download Appium desktop application?
After the installation of Microsoft .net framework next step is to download appium application
Step to download and install Appium are below:
Step 1) Click on Appium Website and select the link under Appium desktop apps as per your OS configuration (we going with window)
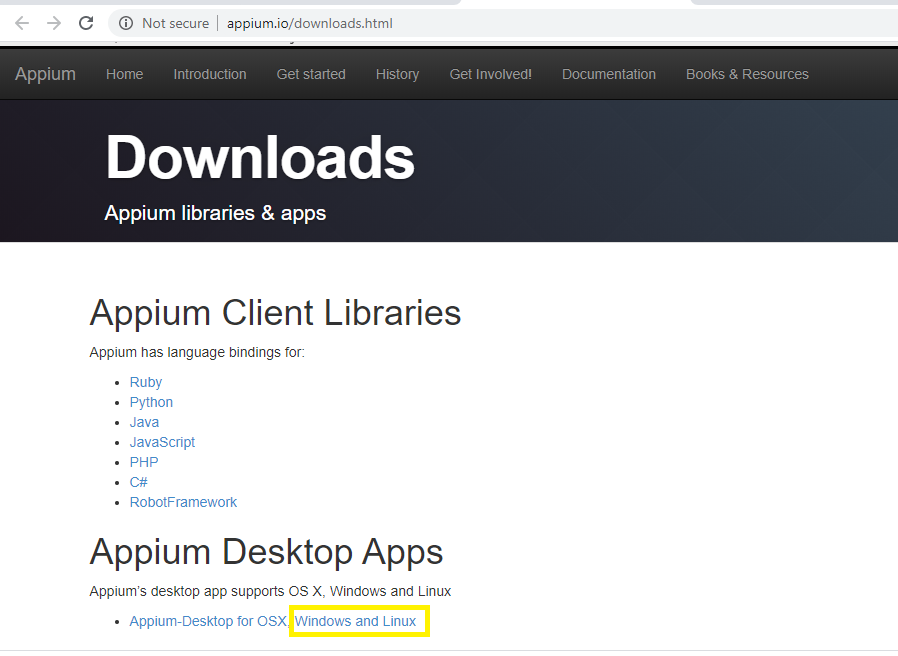
Step 2) Select .exe file for appium installation as per your OS configuration.
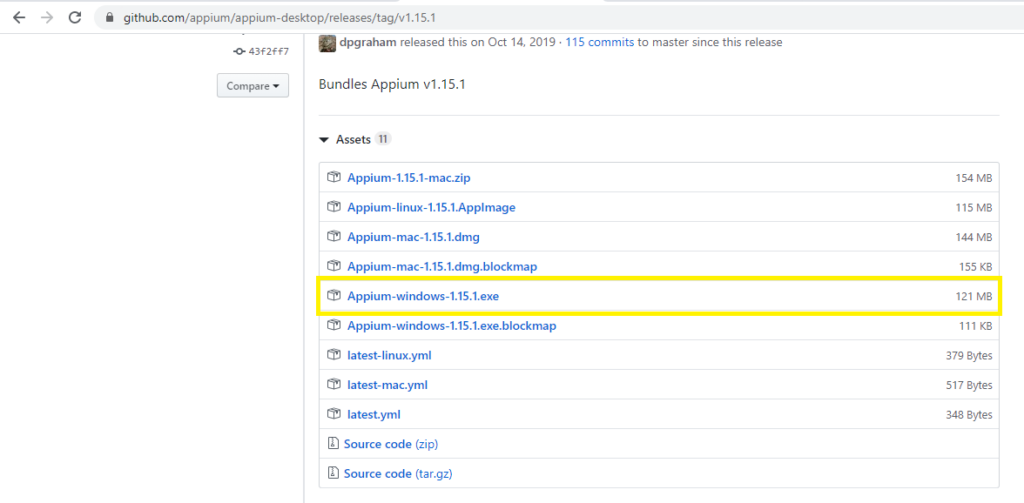
Step3) Choose a folder on your local system to save the Appium installer.
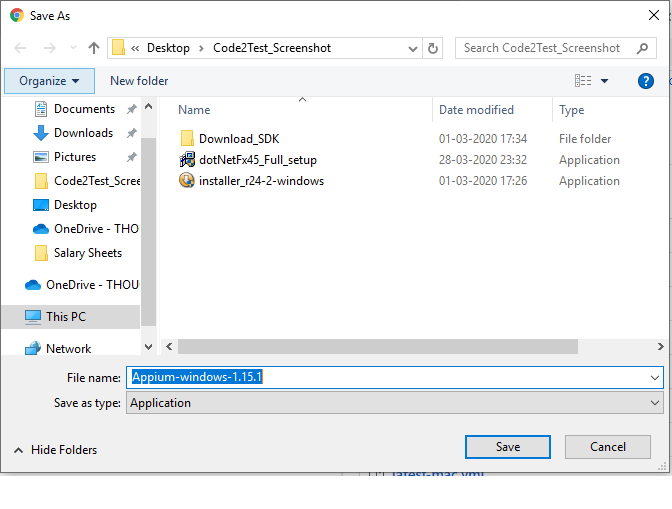
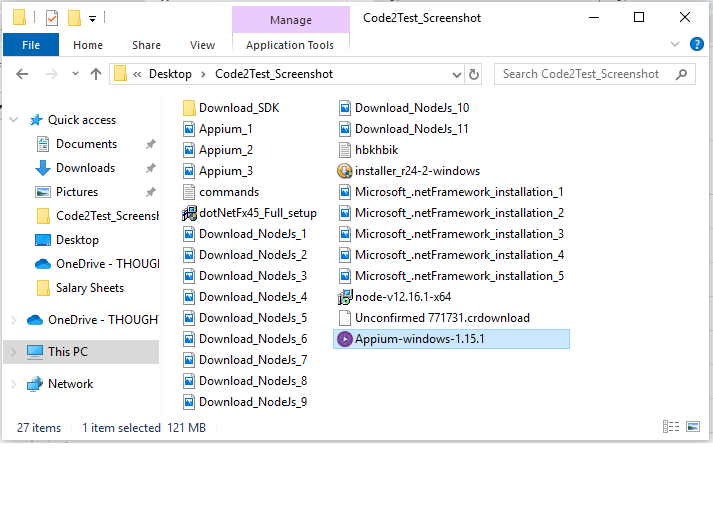
Step 4) Double click to saved Appium installer and continue to install.
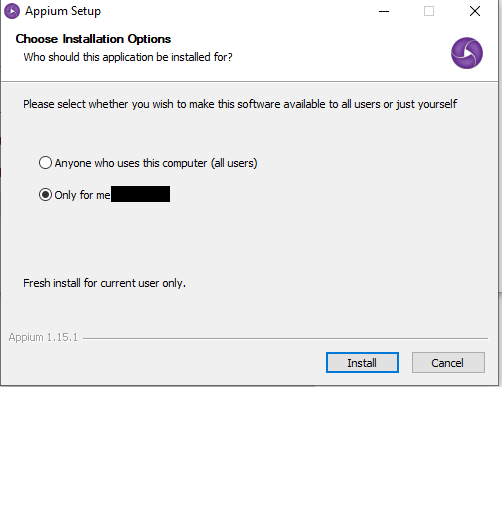
Step 5) Click to Install button under “Choose Installation Options” window
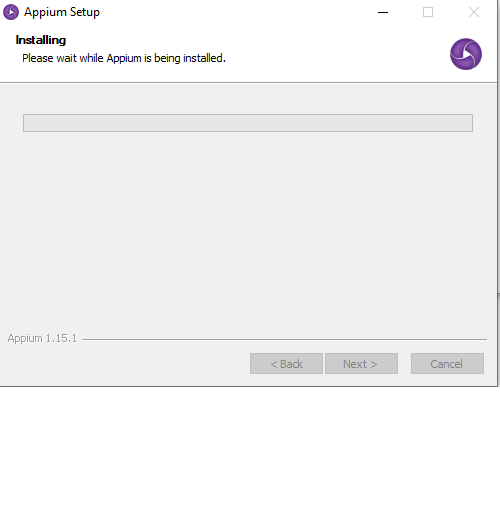
Step 6) Wait once the installation gets done
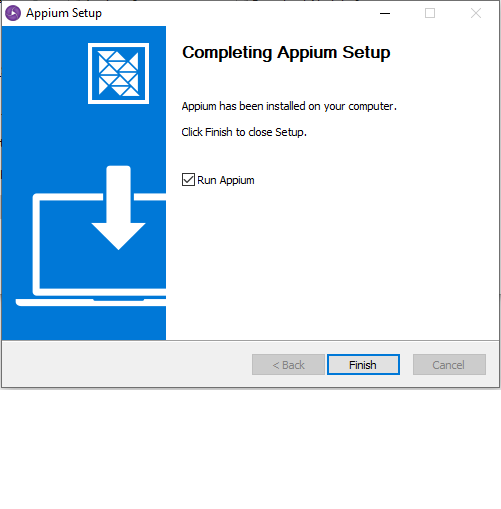
Step 7) Once the Appium Setup is completed, click to Finish button.
Step 8) Once the installation gets completed , the appium window will look like this as below screenshot.
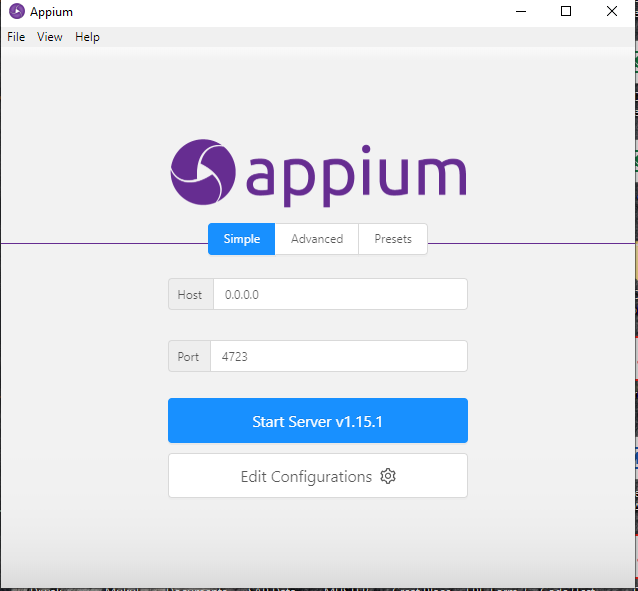
Once we are restart your local system because it reflects your changes to local system.
Install Microsoft .net framework
How to Install Microsoft .net framework ?
Why we install Microsoft .net framework, the reason is because to create a support to provide a framework that can help in interaction of Appium automation scripts with android.
After the download and installation of NodeJs, now we have to Install Microsoft framework for the Mobile automation setup.
Below are the steps to Install Microsoft framework step by step:
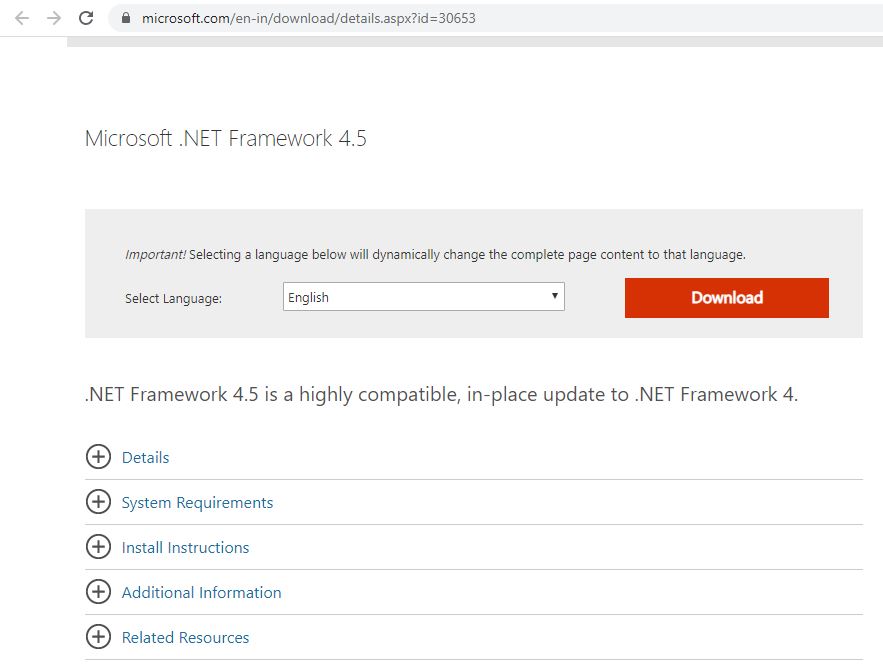
Step 1) Click to Microsoft .net Framework to click to download after selecting language.
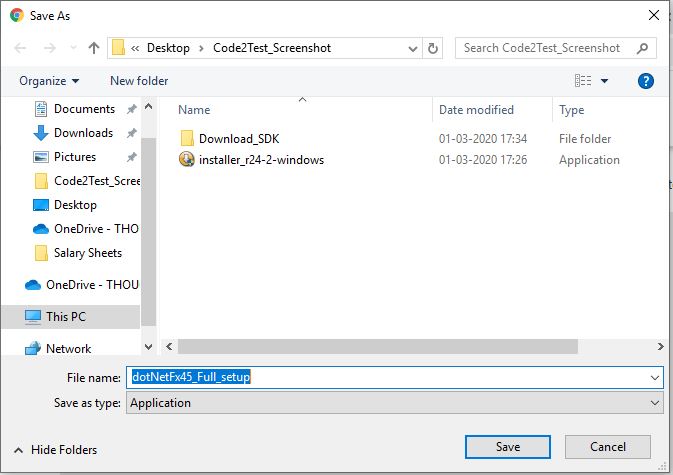
Step 2) Select the folder on your local machine to download the setup.
Step 3) Once the download is completed on local folder double click and start installation.
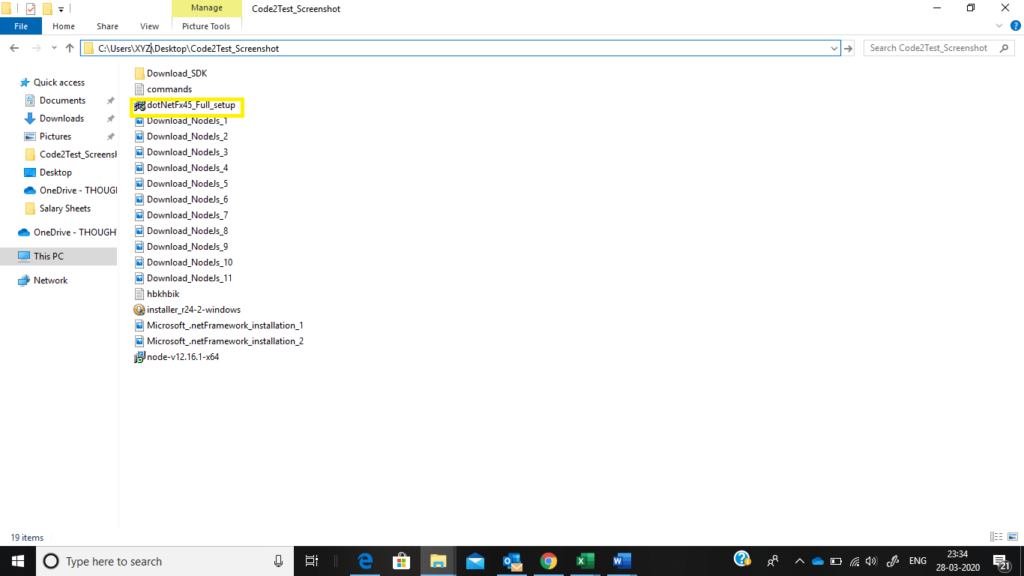
Step 4)
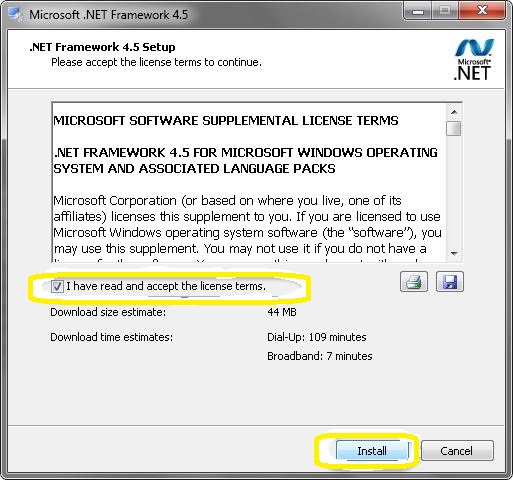
Step 5) Click to Finish button after the installation process is completed.
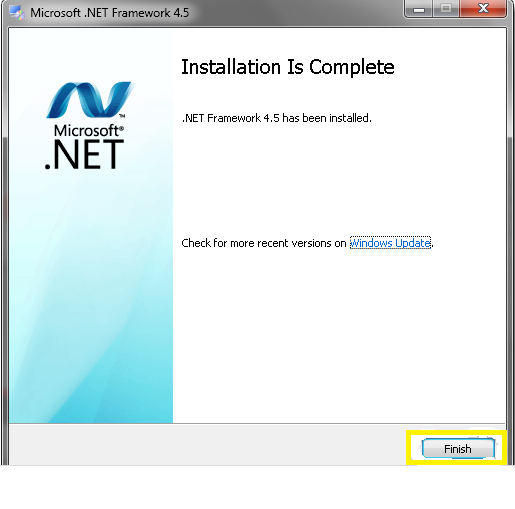
After following the above steps and completed of installation .net framework.
Its recommended to re-start your system
Download & Install Node JS
How to Download & Install Node JS?
Once we done with the setup of ADT plugin now its time to move further for next step for Download & Install Node JS for window
What is Node Js ? and how its use in Appium?
Node Js is an open source environment for server. It uses javascript on the server and runs on various platform like (Window, Linux, Unix etc).
As Appium is a http server which is being developed in node js.
The framework written of test code can be written be any language, The Node JS provides an interaction between Node Js server and selenium client ,that is why its configured with Appium setup.
Below are the steps to Download & Install Node JS:
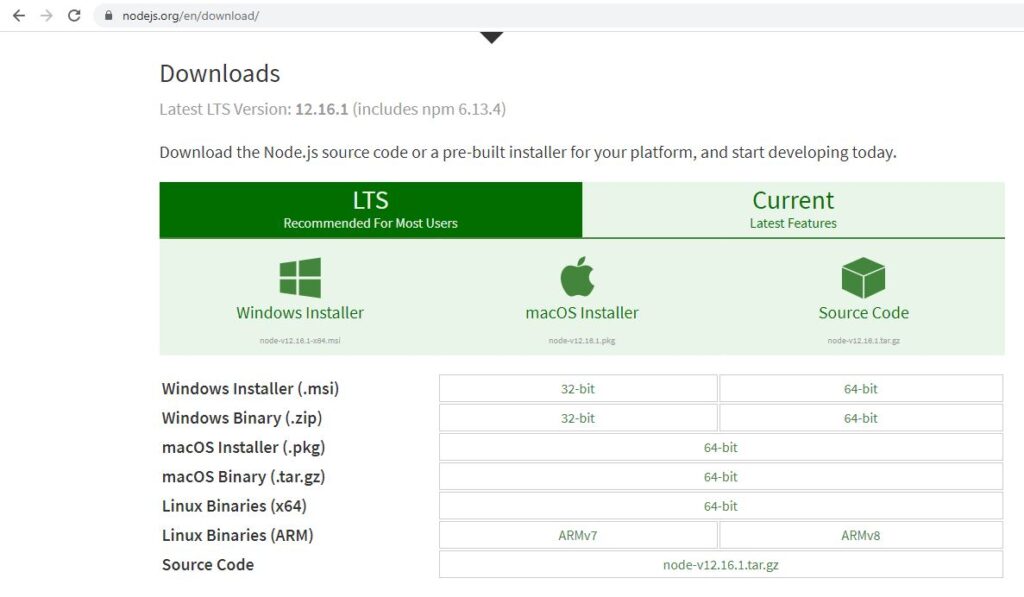
Step 1) Click on Node JS and select the installer as per the your OS configuration and download.
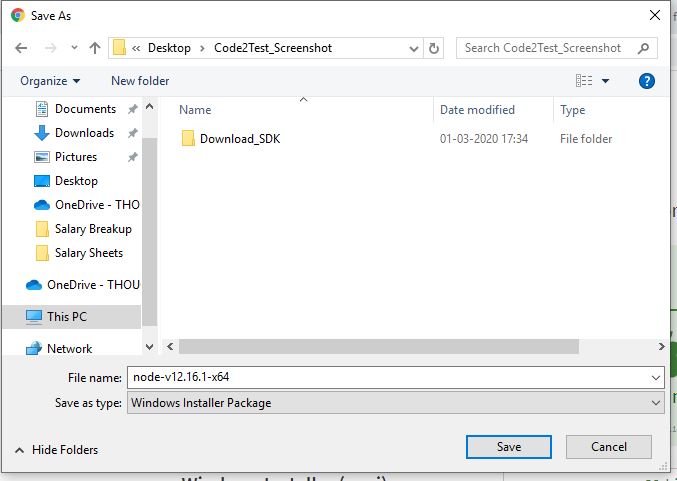
Step 2) Select the path from on local system to download the Node JS installer
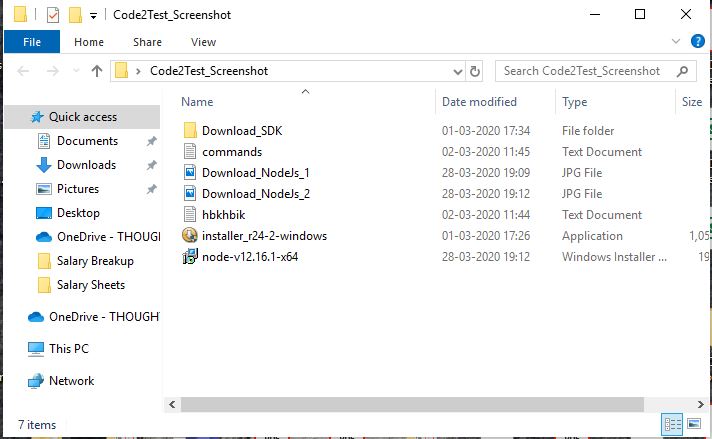
Step 3) Move to the folder location of installer and double click to it.
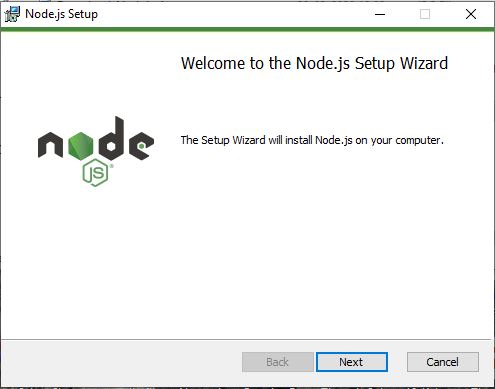
Step 4) As Node Js setup get started click to Next button.
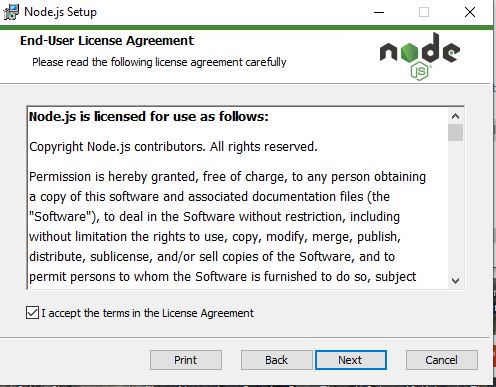
Step 5) Accept the license agreement and click to Next button
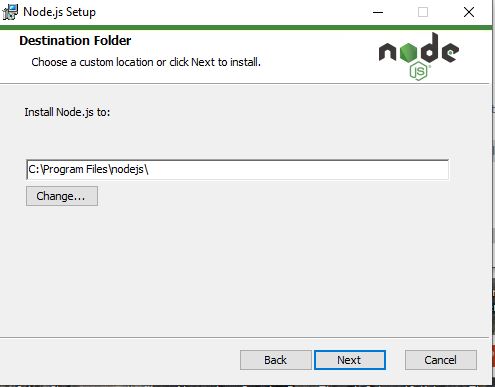
Step 6) Select the designation folder to save the setup files (prefer default location as c:\)
Step 7) Click to Next button under Customer Setup
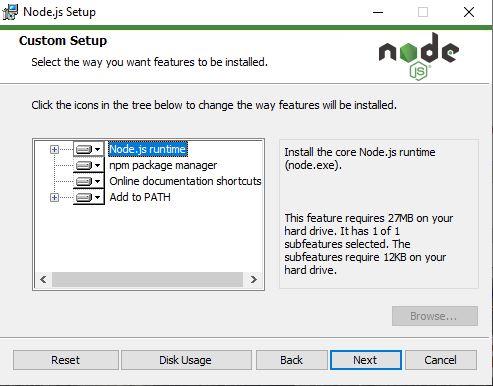
Step 8) Click to Next button under Tools for Native Modules.
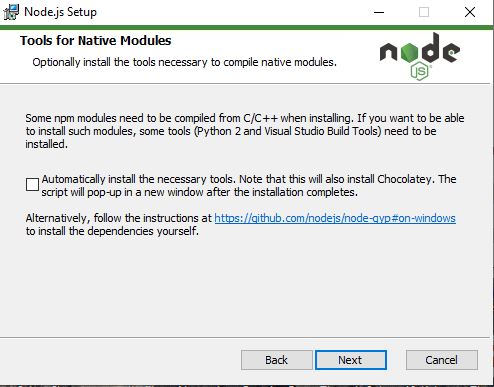
Step 9) Now Click to Install under Ready to install Node.js window
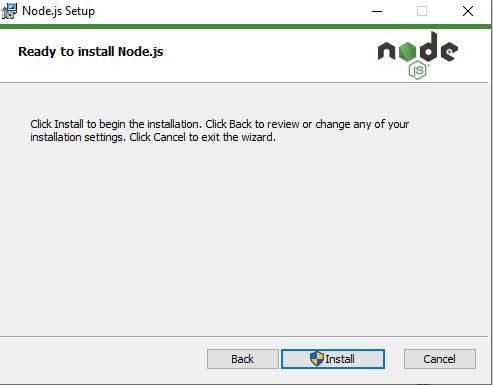
Step 10) Now wait while the setup status is completed.
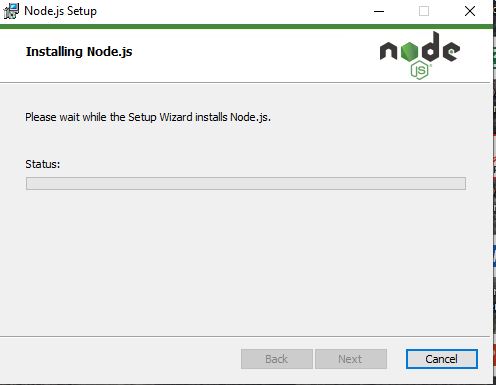
Step 11) Once the setup is done click to Finish button
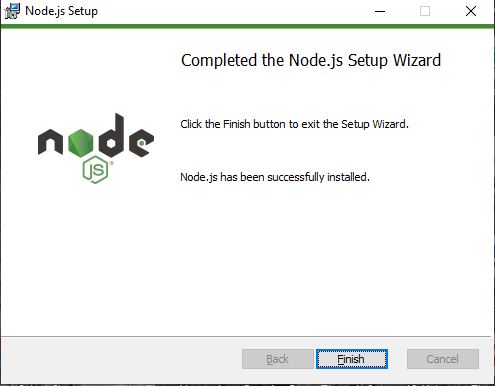
Now we are done with the installation of NodeJs

Setup eclipse ADT plugin
How to install and setup eclipse ADT plugin?
After the setup of Android Environment variable, now its time to setup eclipse ADT Plugin.
What is ADT and Use in Android Automation?
Android Development Tool (ADT) is a plugin for the Eclipse IDE.
ADT helps in providing the strong environment to integrate with android application development.
In Android Automation through appium, ADT plays a crucial role it help in the integration of eclipse with mobile device and smooth execution of script on mobile application. Lets understand to setup ADT plugin step by step.
Steps to install and setup ADT in eclipse are below:
Step1) Open the eclipse IDE to your local system.
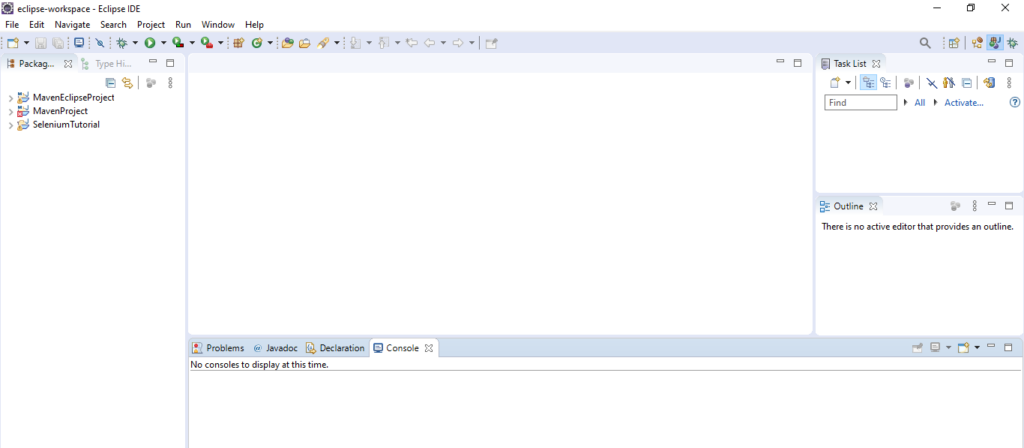
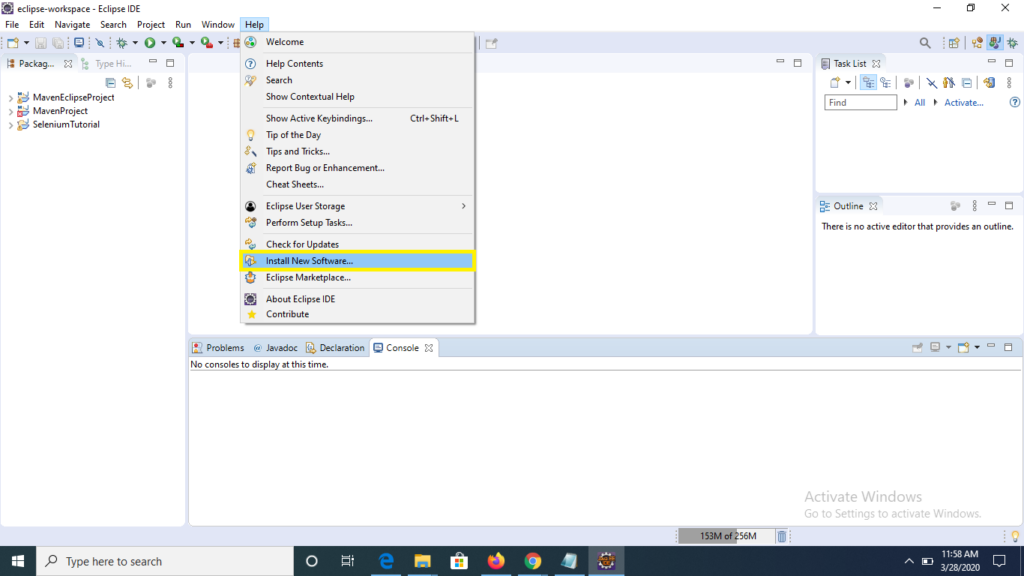
Step 2) Click to Help menu at top on eclipse IDE window and select “Install New Software” option for list.
Step 3) On “Available Software” window, provide the ADT installation url as -> https://dl-ssl.google.com/android/eclipse/ under works with: text field also check the check box for Develops tool and click to Next button
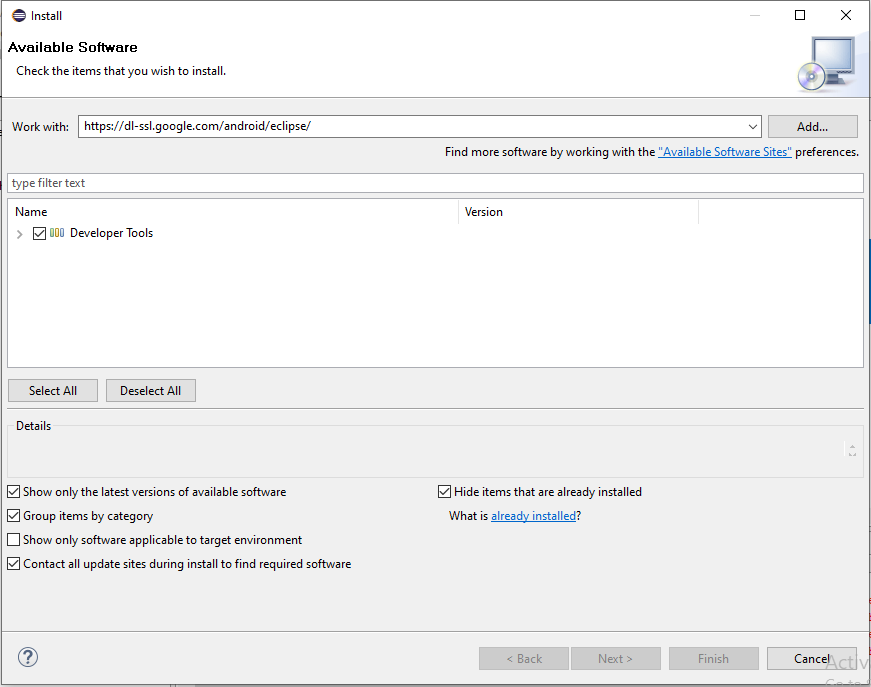
Step 4) Click to Next and Next till the last window and ADT plugin gets installed.
Step 5) Now close your eclipse and re-start your system, so that the changes gets reflected on the system.
Result-> Following the above steps we are now have integrated our eclipse IDE with Android, this will help in the creation and execution of mobile automation scripts.
Connect Us at Facebook-> https://www.facebook.com/code2test/?modal=admin_todo_tour
Setup Android Environment Variables
How to Setup Android Environment Variables on Window machine?
Once you have installed the SDK Package, Now you have to setup Android Environmental path to your system variable.
Steps to Setup Android Environment Variables are below:
Step 1) Copy the Android SDK path of your folder, placed on your local system.
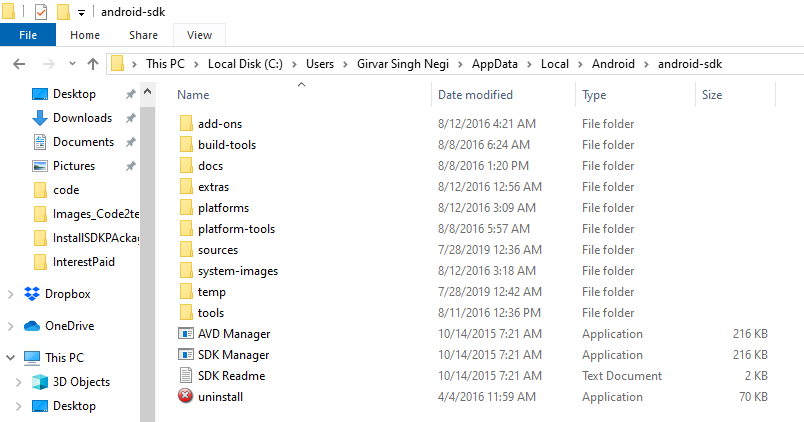
Step 2) Now right click to local PC or My computer and click to Properties menu
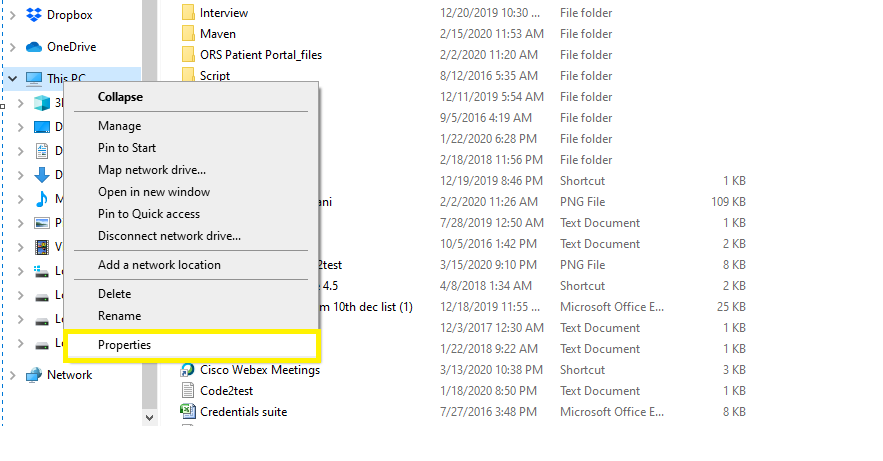
Step 3) Once the System Properties window gets opened click to Environment Variable button.
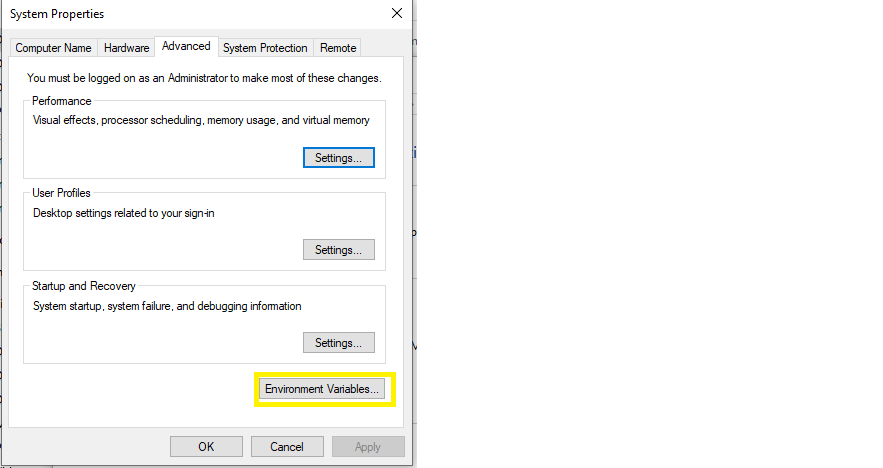
Step4) Under System variables table click to New button.
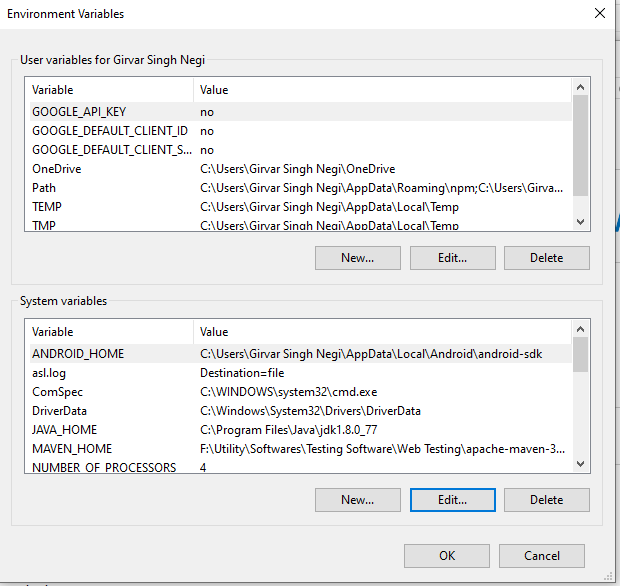
Step5) Enter the Variable Name as ANDROID_HOME and Variable value as the path of your android sdk.

Step 6) Now under system variable table select path and click to edit button and set the path of your Android SDK till tools as (%ANDROID_HOME%\tools) and path of Android SDK till platform tools as (%ANDROID_HOME%\platformtools) and click to OK button.
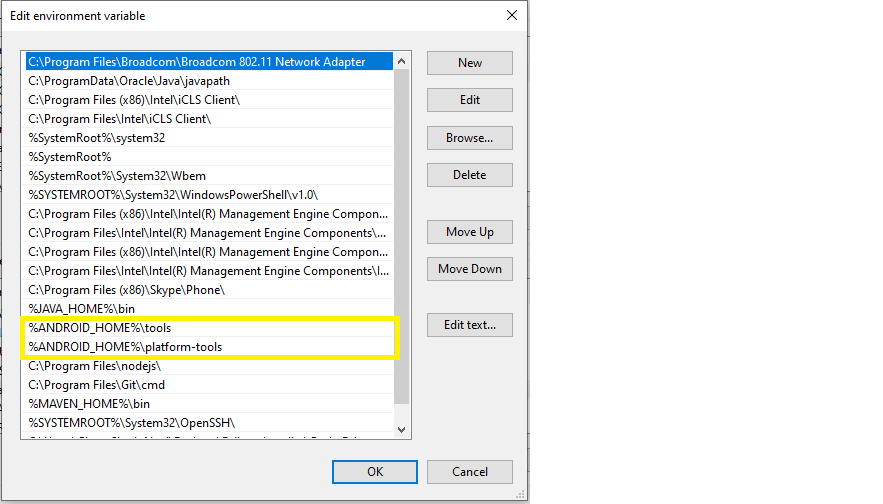
Step 7) Now its time to check that environmental variables are properly set in your system, for this open the command prompt and enter Android and hit Enter.
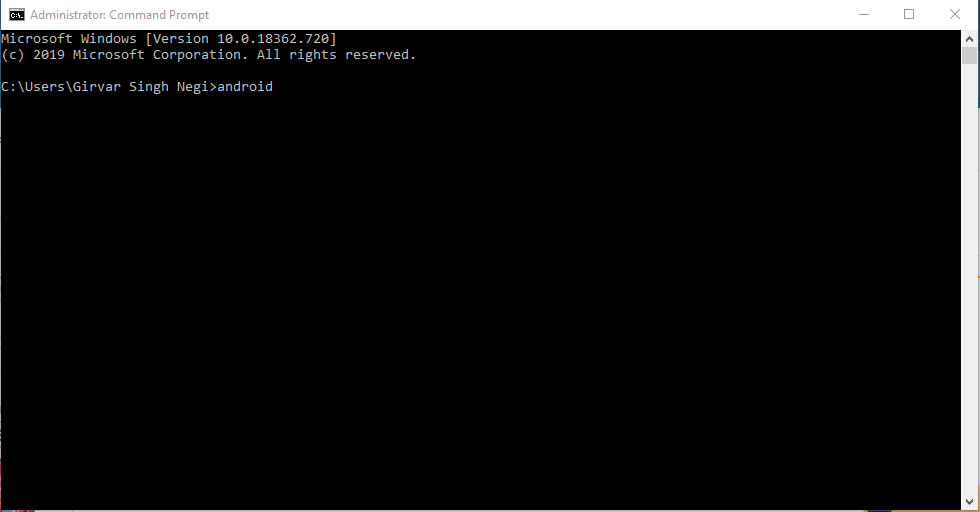
Step8) As you hit enter after few seconds Android SDK Manager gets open.
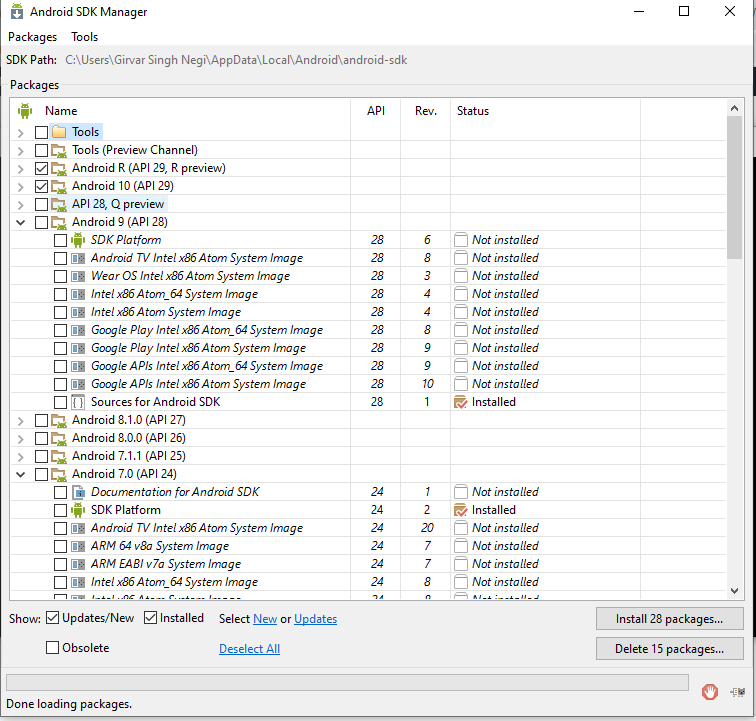
So till now we have learned that,on following above steps we can setup Android variable path on your local window machine.
HashMap: Multiple Values under one key
In this tutorial learn how to put multiple values in single Key in HashMap.
Code:
package com.sanity.Methods;

import java.util.ArrayList;
import java.util.HashMap;
import java.util.List;

public class HashMapCode {
public static void main(String[] args) {
HashMap	map =new HashMap<String, List<String>>();
List<String> addValue= new ArrayList<>();
addValue.add("First");
addValue.add("Second");
addValue.add("Third");
addValue.add("Fourth");
addValue.add("Fifth");
addValue.add("Sixth");
map.put("Name", addValue);

System.out.println("All the Values under Name Key--------->"+addValue);


	}

}
Consider above code for adding multiple values in single key in hashmap
Further topics on selenium, navigate to link
Install Android SDK Package
In the previous tutorial we have learned Download Android SDK on window, now will install Android SDK package.
How to Install Android SDK ?
To setup Android SDK , we need to open Android SDK manager and download the packages. Follow the below steps to setup SDK Package.
Step 1) Open Cmd Prompt or Command Line and type Android and hit enter.

Step 2) Android SDK Manager will get open, now select the Android package as per the requirement or Api version its always recommended to select or download 4-5 latest Api versions and click to install package. We have downloaded Android 10 (API 29) version as per requirement.
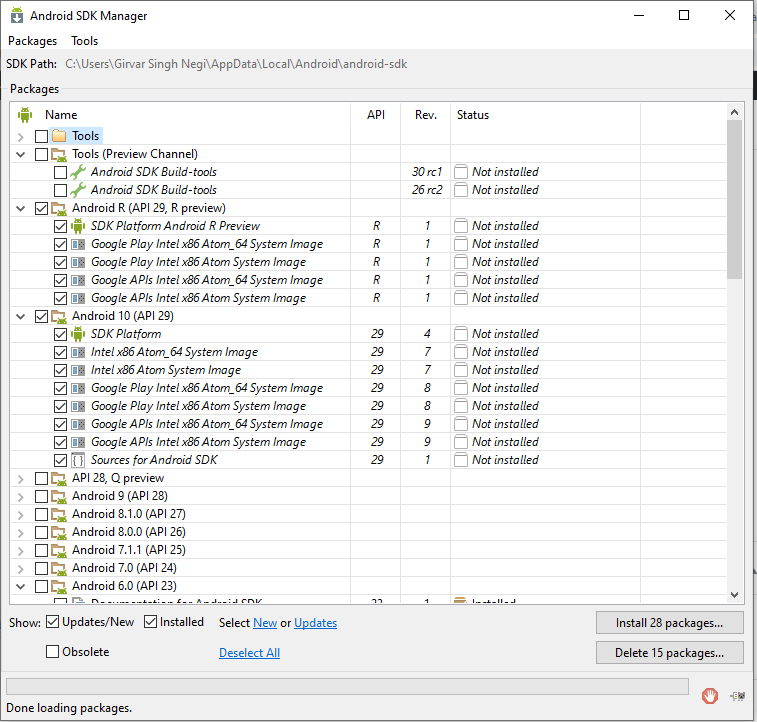
Step 3) Now click to Accept License radio button and click install button under Choose Packages to Install” window
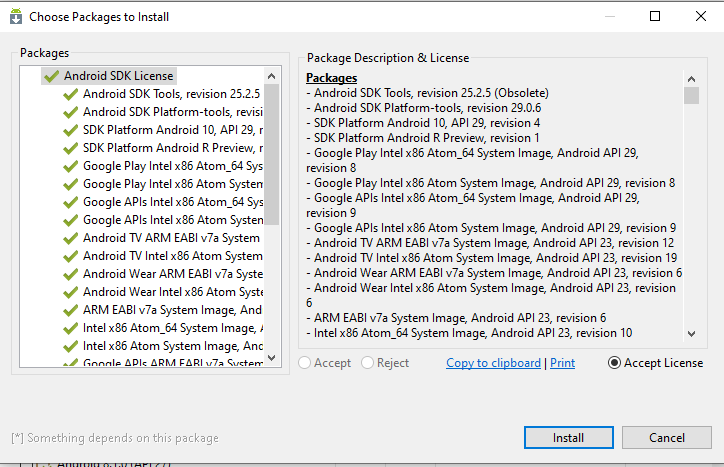
Step 4) Now the Android SDK package will start downloading the package and once all the packages will get downloaded close the ADK manger Window.
So following the above steps we will setup the Android SDK as per requirement of Automation
Follow Us on Facebook: https://www.facebook.com/code2test/?modal=admin_todo_tour
Download & Setup Android SDK
In previour topic we learned setup java , in this tutorial we are going to learn the how to Download & Setup Android SDK but moving we will first understand about Android.
How to Download & Setup Android SDK?
Android is an operating system by google which run on different devices and provide an interactive interface with different application.
The Android software Kit (SDK) provides a package which helps in the development of Android application and for building connection it contains platform tools and ADB driver.
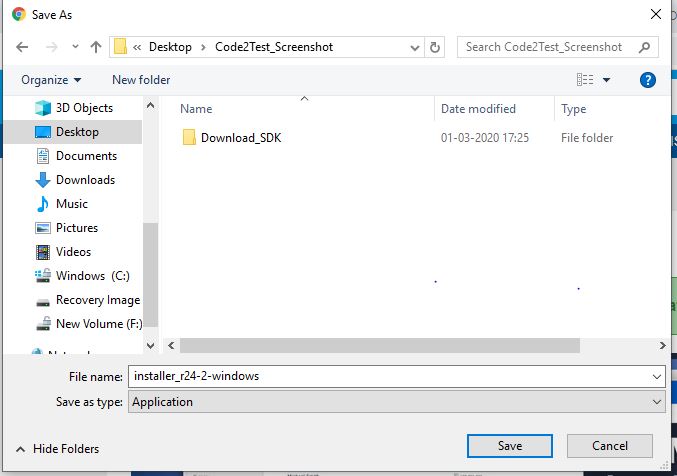
Step 2) Select the path of on local system where the software to be downloaded.
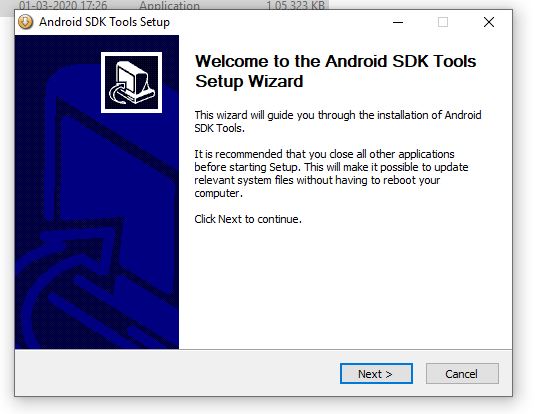
Step 3) Click to Next button under Android SDK Tools Setup
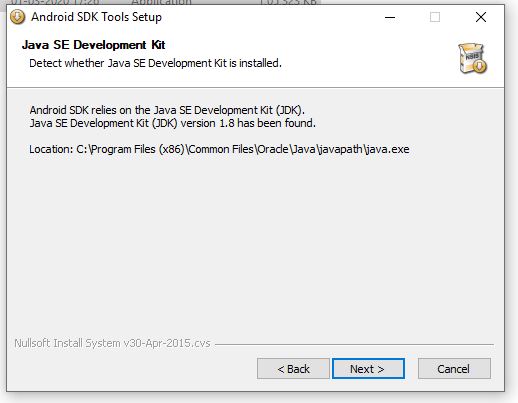
Step 4) Now the Android SDK setup will detect you JDK setup and if found will display message, click to Next
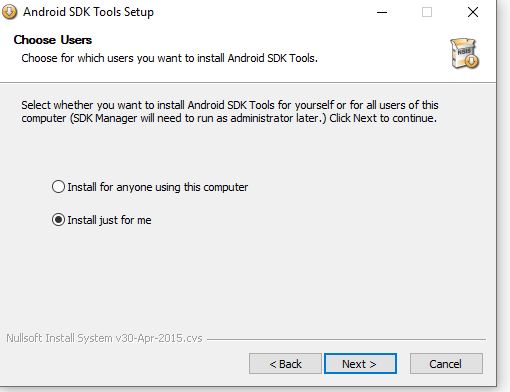
Step 5) Now you have to choose user for which you want to install Android SDK by default its “Install just for me”, click to Next button.
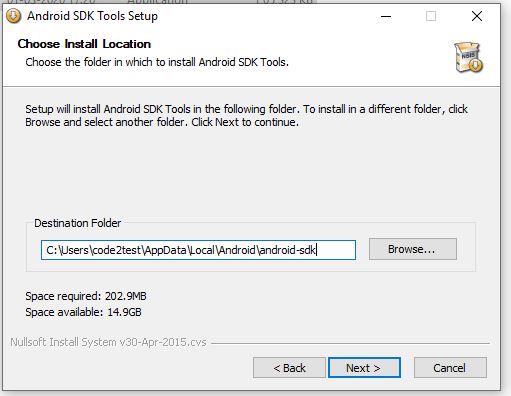
Step 6) Now install the Android SDK in by default location in c:\ by click to Next button
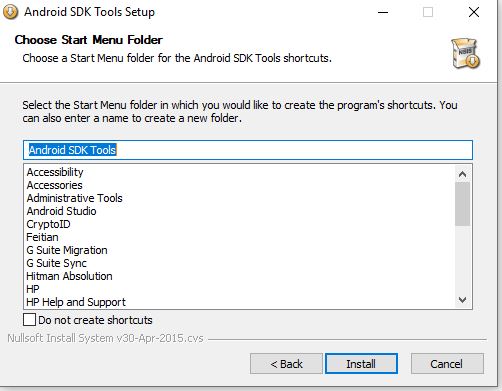
Step 7) Click to Next button, if not requires shortcut else check under checkbox.
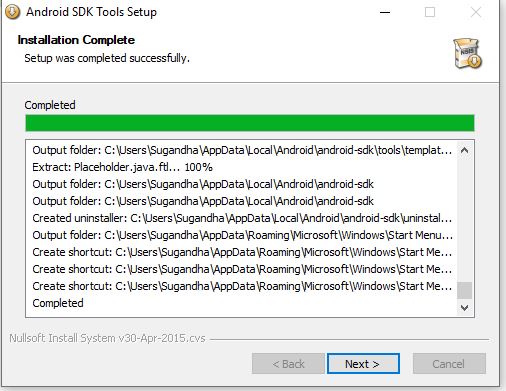
Step 8) Once installation completed, click to Next button
Step 9) Again Click to Next button after final Tools wizard completed.
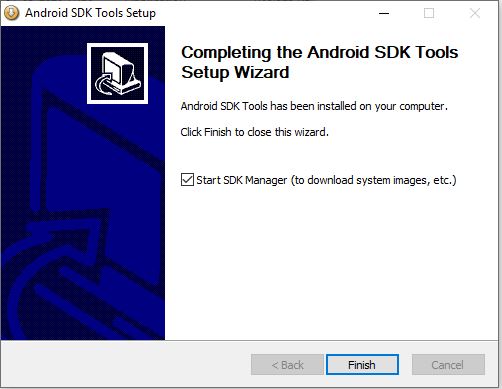
so once your completed with above steps Android SDK will get configured in your system and next step will be the installation of packages for Android that we will learn on next tutorial
Scroll Up or Down in Selenium
Previous tutorial we have learned popup window handling and now we will learn Scroll Up or Down in Selenium
What is Scrolling?
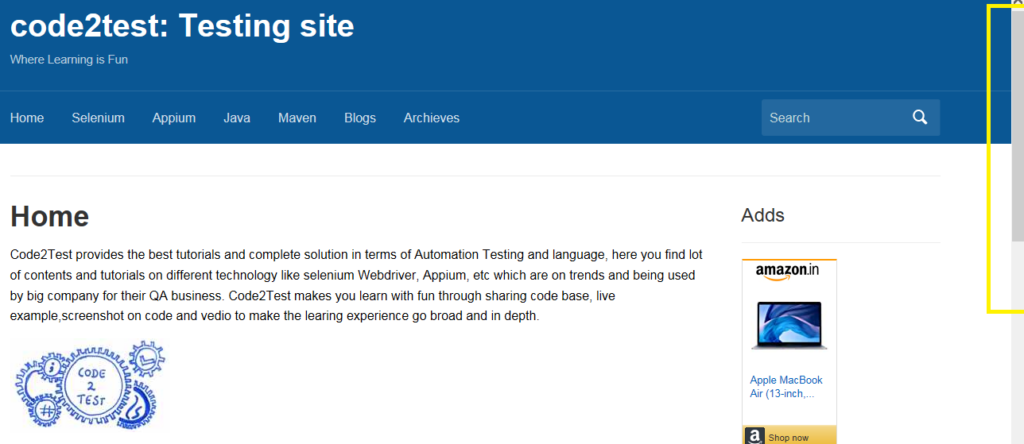
Scrolling is nothing but moving the screen in horizontal and vertical direction.
How to Scroll Up or Down in Selenium?
If a particular element is not visible in current web application window because of which we need scrolling to view the element in a particular direction .
Scrolling in web page is performed in two ways horizontal scrolling and vertical scrolling.Lets discuss both of them in details.
What is Vertical Scrolling ?
1) Vertical Scrolling: It can be performed when we try to scroll the web page in downward direction with its pixels.The syntax for vertical scrolling is as below:
JavascriptExecutor js = (JavascriptExecutor) driver;
js.executeScript(Script,Arguments);
Lets consider a scenario to perform vertical scrolling:
- Open a web application www.code2test.com
- Click to selenium menu.
- Now perform the vertical scrolling.
package SeleniumArchitecture;
import java.util.Base64;
import java.util.Iterator;
import java.util.Set;
import org.openqa.selenium.By;
import org.openqa.selenium.JavascriptExecutor;
import org.openqa.selenium.chrome.ChromeDriver;
public class Scrolling_using_selenium {
public static void main(String[] args) throws InterruptedException {// System property of the Chrome driver

System.setProperty( "webdriver.chrome.driver","C:\\Users\\XXXXX\\Desktop\\Eclipse_Installer\\GeckoDriver\\chromedriver.exe");
// Create oject of chrome driver WebDriver driver = new ChromeDriver();
 Thread.sleep(3000);
 ChromeDriver    driver= new ChromeDriver();
 driver.manage().window().maximize(); Thread.sleep(3000);
 driver.get("https://code2test.com/");
 //click to selenium menu
 driver.findElement(By.xpath("//*[@id='menu-post-1']/li[3]/a")).click();
 Thread.sleep(3000);
 JavascriptExecutor js = (JavascriptExecutor) driver;
 //Scroll vertical direction 100 pixel
 js.executeScript("window.scrollBy(0,1000)");
	}
}ScrollIntoView():This code will scroll in the web page until the particular element gets visible to the current page. It keeps on scrolling in the page till the visibility on the screen. The Syntax of ScrollIntoView() is below:
JavascriptExecutor js = (JavascriptExecutor) driver;
js.executeScript("arguments[0].scrollIntoView();",Element );
Lets consider a scenario to perform vertical scrolling:
- Open a web application www.code2test.com
- Click to selenium menu.
- Now perform the vertical scrolling and .
package SeleniumArchitecture;
import org.openqa.selenium.By;
import org.openqa.selenium.JavascriptExecutor;
import org.openqa.selenium.WebElement;
import org.openqa.selenium.chrome.ChromeDriver;

public class Scrolling_using_selenium {

public static void main(String[] args) throws InterruptedException {// System property of the Chrome driver

 System.setProperty( "webdriver.chrome.driver","C:\\Users\\XXXXXX\\Desktop\\Eclipse_Installer\\GeckoDriver\\chromedriver.exe");
// Create oject of chrome driver WebDriver driver = new ChromeDriver();
 Thread.sleep(3000);
 ChromeDriver    driver= new ChromeDriver();
 driver.manage().window().maximize(); Thread.sleep(3000);
 driver.get("https://code2test.com/");
//click to selenium menu
 driver.findElement(By.xpath("//*[@id='menu-post-1']/li[3]/a")).click();
 Thread.sleep(3000);
//Xpath from select From Date
WebElement selectFromDateTitle= driver.findElement(By.xpath("//*[@id='post-30']/div/div[8]//li[3]/a"));

 JavascriptExecutor js = (JavascriptExecutor) driver;

//Scroll vertical direction 100 pixel
js.executeScript("arguments[0].scrollIntoView();", selectFromDateTitle);
	}
}
In the above code “selectFromDateTitle” is the locator of an element.
“argument[0]” is the index of page which stars from “0”
What is Horizontal Scrolling?
2) Horizontal scrolling: In horizontal scrolling the scrolling is performed on left to right Or right to left on web page, the horizontal scrolling can be done by coding by providing the x-axis co-ordinates on ScrollBy( ) method. Let see the syntax below.
executeScript(“window.scrollBy(x-pixels,y-pixels)”);
Also horizontal scrolling can be performed by ScrollIntoView() method, where an scrolling is performed till the element is available on the current page.
JavascriptExecutor js = (JavascriptExecutor) driver;
js.executeScript("arguments[0].scrollIntoView();",Element );
On next topic we will cover integration part in selenium webdriver.
Unexpected popup window handling using selenium
In this tutorial we will learn unexpected popup window handling using selenium. Also we will learn how to handle multiple window and its window id as per the requirement of automation script.
How to resolve Unexpected popup window issue using Selenium?
In a web application we sometimes come across an issue where we get unexpected popup windows. We see other windows open when we try opening single application URL. In such cases it becomes tough to work with main window and sometimes our automation scripts gets stuck or failed.
To overcome this Unexpected issue we handle it in our automation script so that automation script runs smoothly without any hurdles.
The solution to overcome with such unexpected popup windows is to get window ids of unexpected window and take the control to that window ids and close them using selenium.
Consider the below scenario:
- Open the web application of online job portal https://www.naukri.com/
- After it opens, it opens with two other window.
- Close both the other window
- Now take the control of driver to main page
- print the title of main page
Complete Code of the above scenario.
package SeleniumArchitecture;
import java.util.Base64;
import java.util.Iterator;
import java.util.Set;
import org.openqa.selenium.chrome.ChromeDriver;
public class UnExpectedPopUpWindow_Handle {

public static void main(String[] args) throws InterruptedException {

System.setProperty( "webdriver.chrome.driver","C:\\Users\\XXXXX\\Desktop\\Eclipse_Installer\\GeckoDriver\\chromedriver.exe");
// Create oject of chrome driver WebDriver driver = new ChromeDriver();
 Thread.sleep(3000);
 ChromeDriver    driver= new ChromeDriver();
 driver.manage().window().maximize(); Thread.sleep(3000);
 driver.get("https://www.naukri.com/");

 Set<String> windowIds=driver.getWindowHandles();

 System.out.println("Total windows------------>"+windowIds.size());

 Iterator<String> itera= windowIds.iterator();
 if(windowIds.size()==3) {
 String MainWindowID = itera.next();
 String secondWindowID = itera.next();
 String thirdWindowID = itera.next();

 driver.switchTo().window(secondWindowID);
 driver.close();
 driver.switchTo().window(thirdWindowID);
 driver.close();
 driver.switchTo().window(MainWindowID);
 String mainWindowTitle = driver.getTitle();
System.out.println("Title for the main window is ------ >"+mainWindowTitle);
		  }
	}
}
Code explanation:
- In selenium, we can capture the window ids of multiple windows using driver.getWindowHandles(), it returns a set and add all the window ids present in the current driver instance.
code -> Set windowIds=driver.getWindowHandles();
- Now its time to iterate the window ids for this we call iterator, in set we iterate using iterator()
code-> Iterator itera= windowIds.iterator();
- Now apply an if statement having condition that window ids are equal to 3 (note we have 3 window appearing to this application) and click to next till iteration to the window ids which need to be closed. and on pointing to that close the driver and then switch to main window
Code->
if(windowIds.size()==3) {
String MainWindowID = itera.next();
String secondWindowID = itera.next();
String thirdWindowID = itera.next();
driver.switchTo().window(secondWindowID);
driver.close();
driver.switchTo().window(thirdWindowID);
driver.close();
driver.switchTo().window(MainWindowID);
 String mainWindowTitle = driver.getTitle();

 System.out.println("Title for the main window is --------------->"+mainWindowTitle);
      }
So till now we have learned how unexpected popup issue is handled using selenium. In next topic we will learn more such topics related to selenium web-driver.
