Home » appium-tutorial (Page 3)
Category Archives: appium-tutorial
Setup Android Environment Variables
How to Setup Android Environment Variables on Window machine?
Once you have installed the SDK Package, Now you have to setup Android Environmental path to your system variable.
Steps to Setup Android Environment Variables are below:
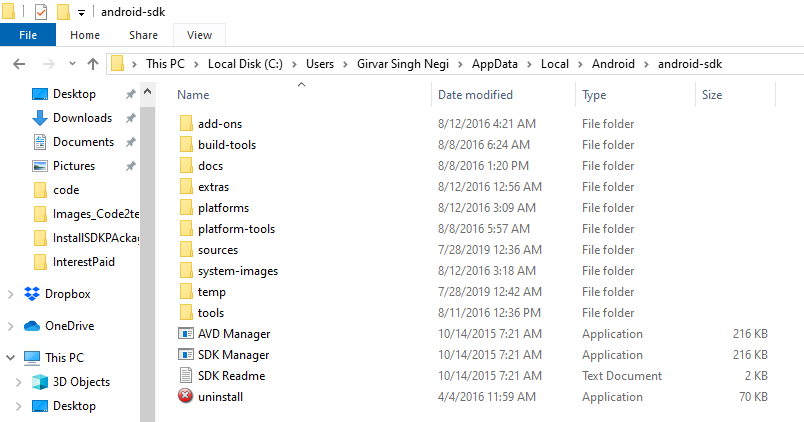
Step 1) Copy the Android SDK path of your folder, placed on your local system.
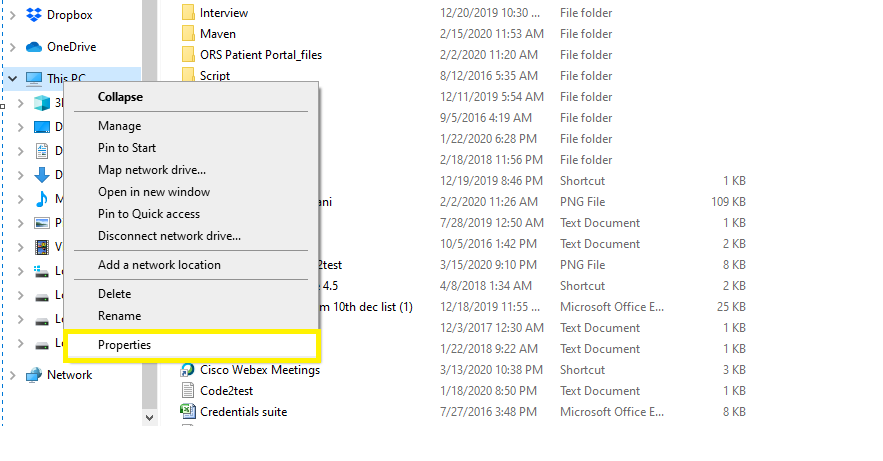
Step 2) Now right click to local PC or My computer and click to Properties menu
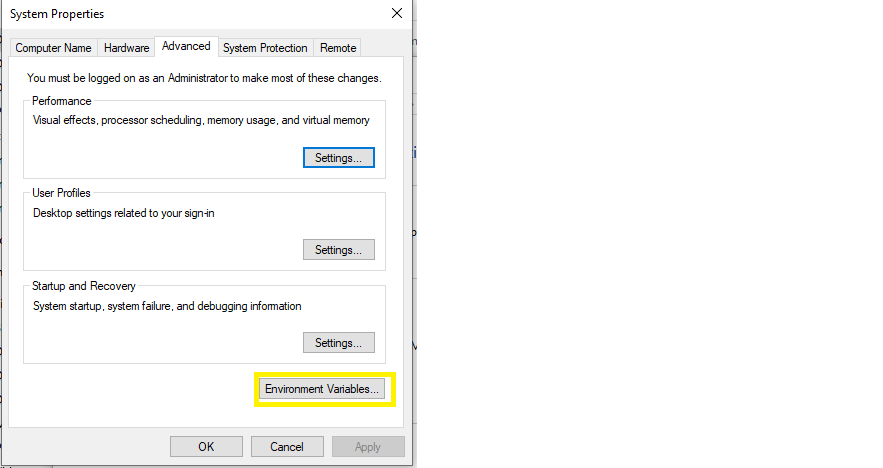
Step 3) Once the System Properties window gets opened click to Environment Variable button.
Step4) Under System variables table click to New button.
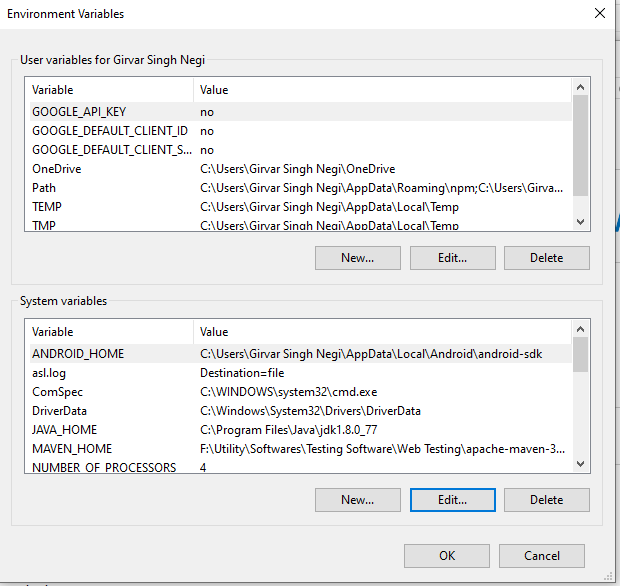
Step5) Enter the Variable Name as ANDROID_HOME and Variable value as the path of your android sdk.

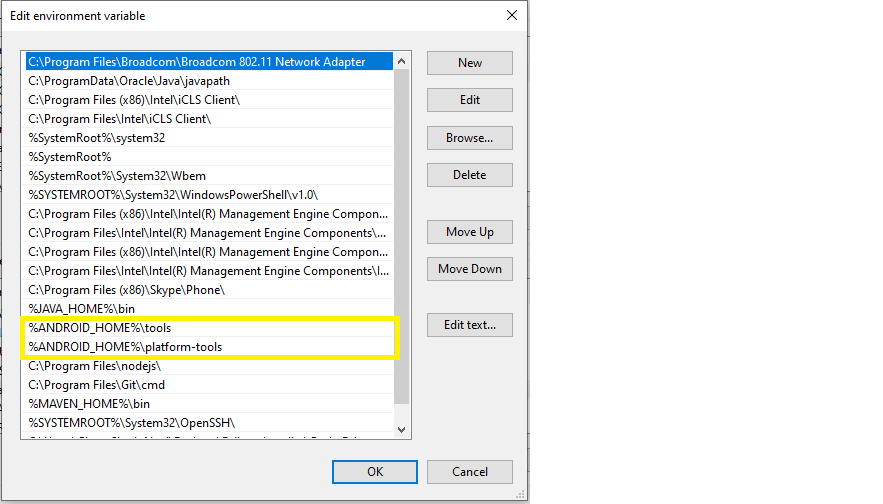
Step 6) Now under system variable table select path and click to edit button and set the path of your Android SDK till tools as (%ANDROID_HOME%\tools) and path of Android SDK till platform tools as (%ANDROID_HOME%\platformtools) and click to OK button.
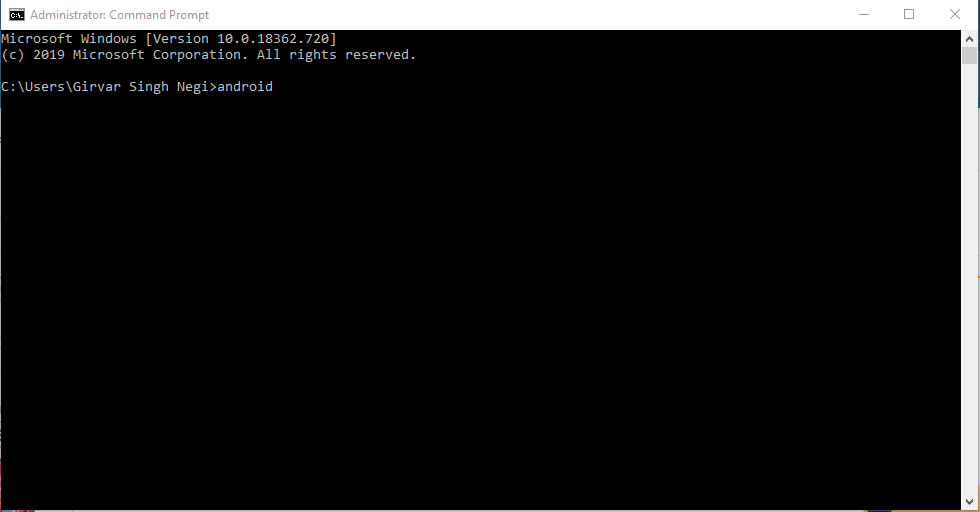
Step 7) Now its time to check that environmental variables are properly set in your system, for this open the command prompt and enter Android and hit Enter.
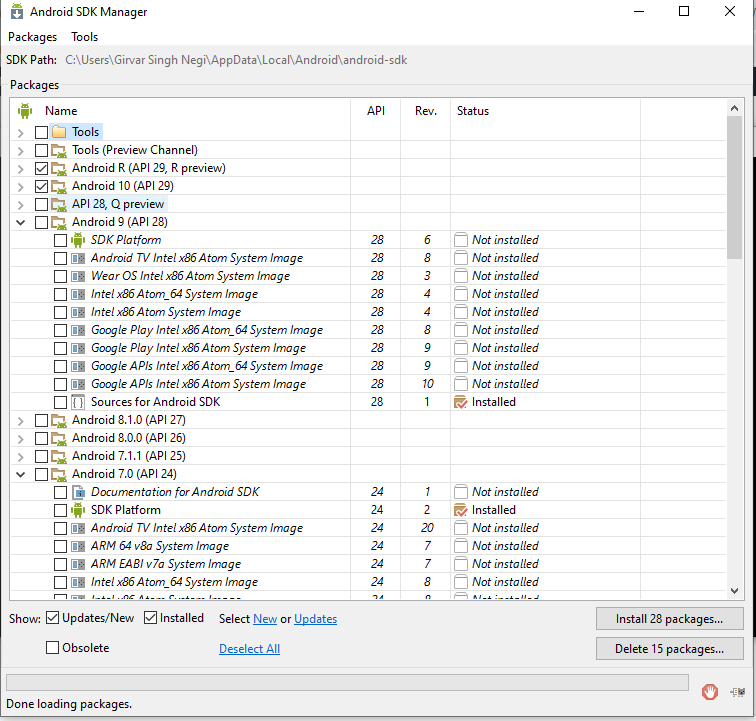
Step8) As you hit enter after few seconds Android SDK Manager gets open.
So till now we have learned that,on following above steps we can setup Android variable path on your local window machine.
Install Android SDK Package
In the previous tutorial we have learned Download Android SDK on window, now will install Android SDK package.
How to Install Android SDK ?
To setup Android SDK , we need to open Android SDK manager and download the packages. Follow the below steps to setup SDK Package.
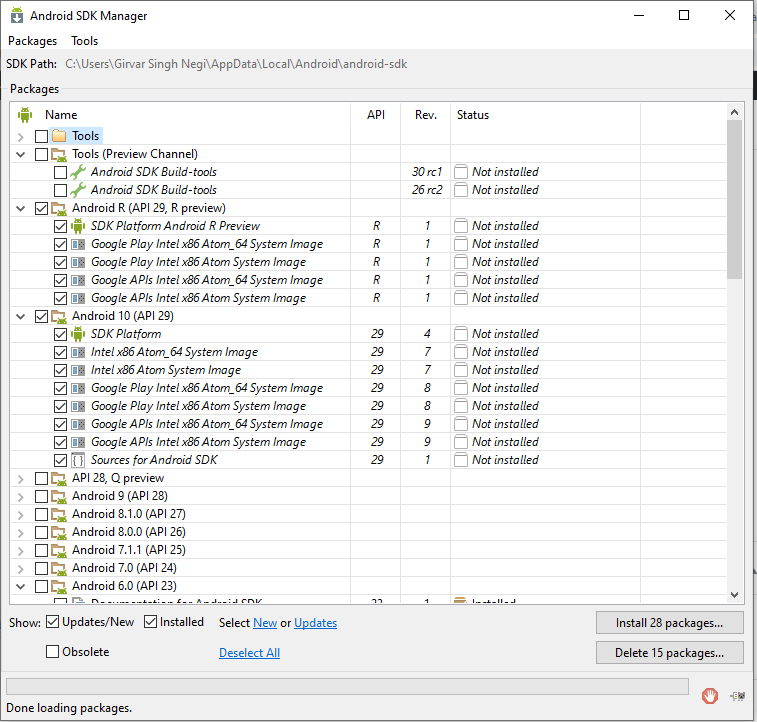
Step 1) Open Cmd Prompt or Command Line and type Android and hit enter.

Step 2) Android SDK Manager will get open, now select the Android package as per the requirement or Api version its always recommended to select or download 4-5 latest Api versions and click to install package. We have downloaded Android 10 (API 29) version as per requirement.
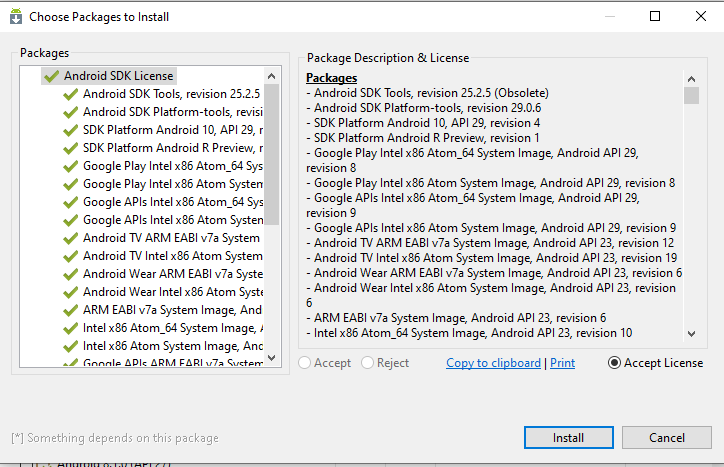
Step 3) Now click to Accept License radio button and click install button under Choose Packages to Install” window
Step 4) Now the Android SDK package will start downloading the package and once all the packages will get downloaded close the ADK manger Window.
So following the above steps we will setup the Android SDK as per requirement of Automation
Follow Us on Facebook: https://www.facebook.com/code2test/?modal=admin_todo_tour
Download & Setup Android SDK
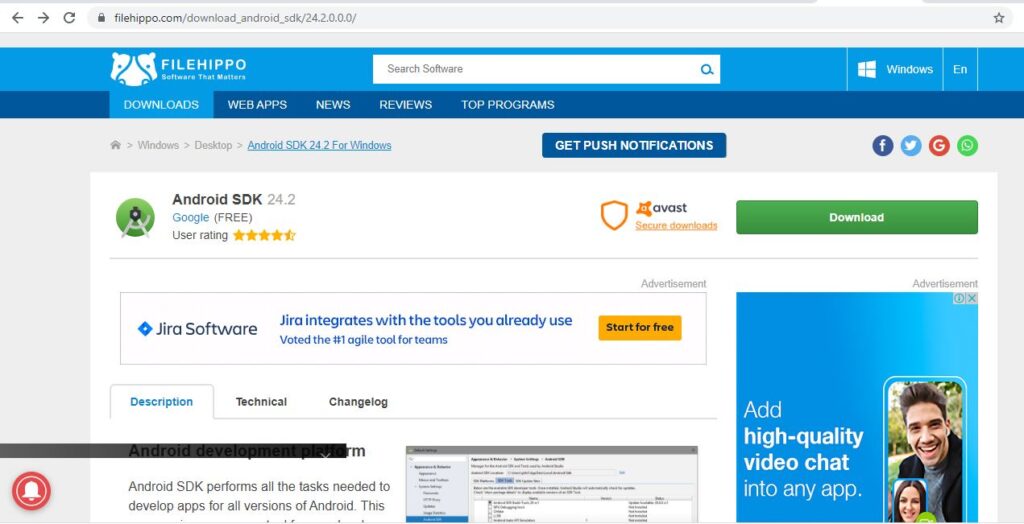
In previour topic we learned setup java , in this tutorial we are going to learn the how to Download & Setup Android SDK but moving we will first understand about Android.
How to Download & Setup Android SDK?
Android is an operating system by google which run on different devices and provide an interactive interface with different application.
The Android software Kit (SDK) provides a package which helps in the development of Android application and for building connection it contains platform tools and ADB driver.
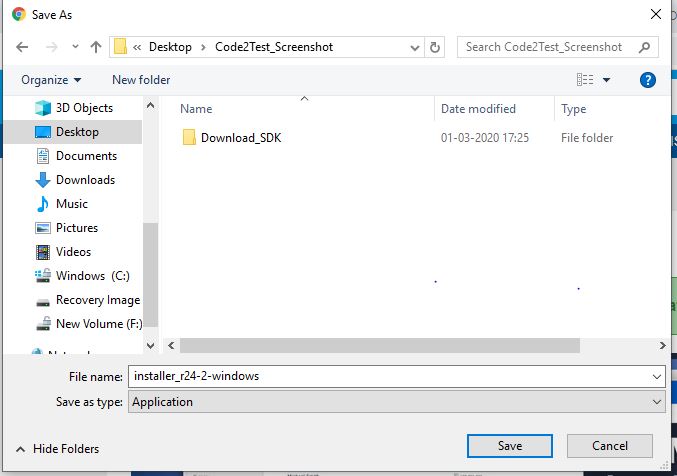
Step 2) Select the path of on local system where the software to be downloaded.
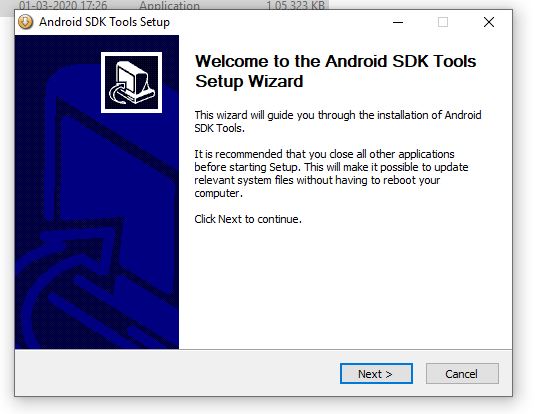
Step 3) Click to Next button under Android SDK Tools Setup
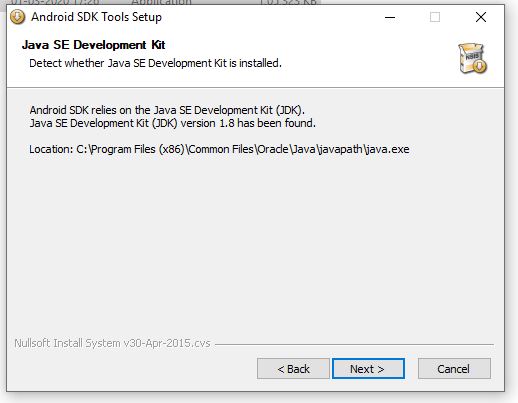
Step 4) Now the Android SDK setup will detect you JDK setup and if found will display message, click to Next
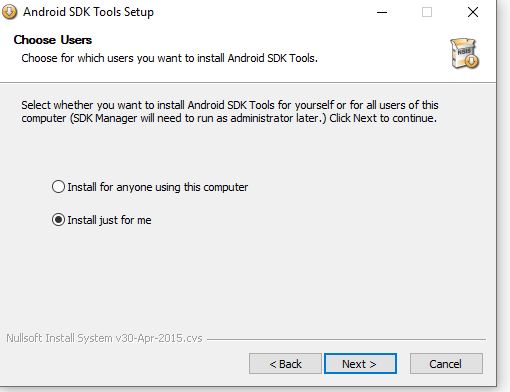
Step 5) Now you have to choose user for which you want to install Android SDK by default its “Install just for me”, click to Next button.
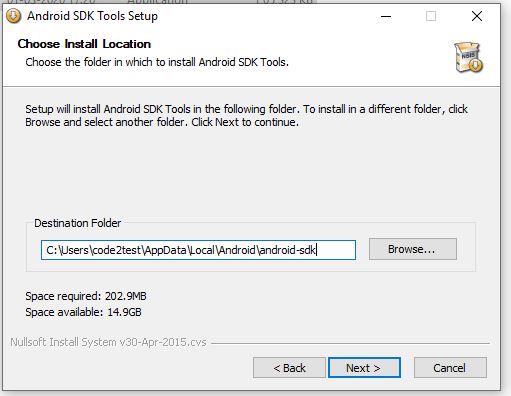
Step 6) Now install the Android SDK in by default location in c:\ by click to Next button
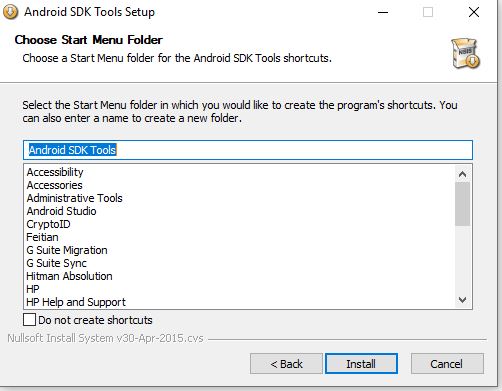
Step 7) Click to Next button, if not requires shortcut else check under checkbox.
Step 8) Once installation completed, click to Next button
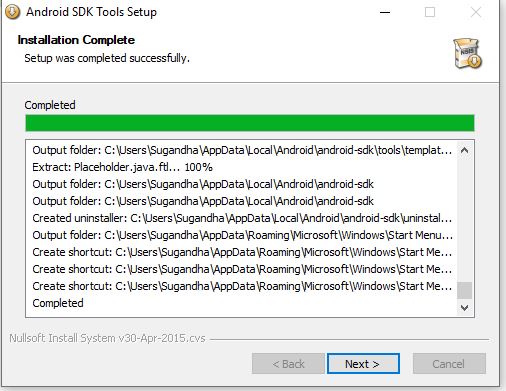
Step 9) Again Click to Next button after final Tools wizard completed.
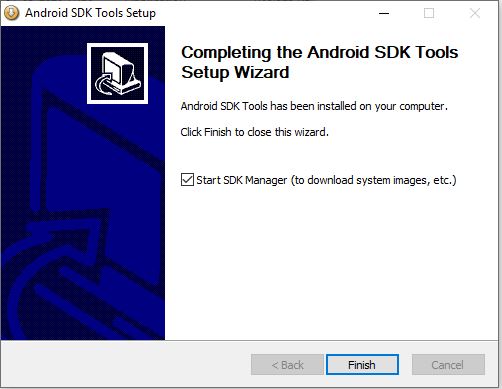
so once your completed with above steps Android SDK will get configured in your system and next step will be the installation of packages for Android that we will learn on next tutorial
